Tempress Valve Parts
Nation’s Specialist in Tempress Valve Parts
Click links below to jump to section
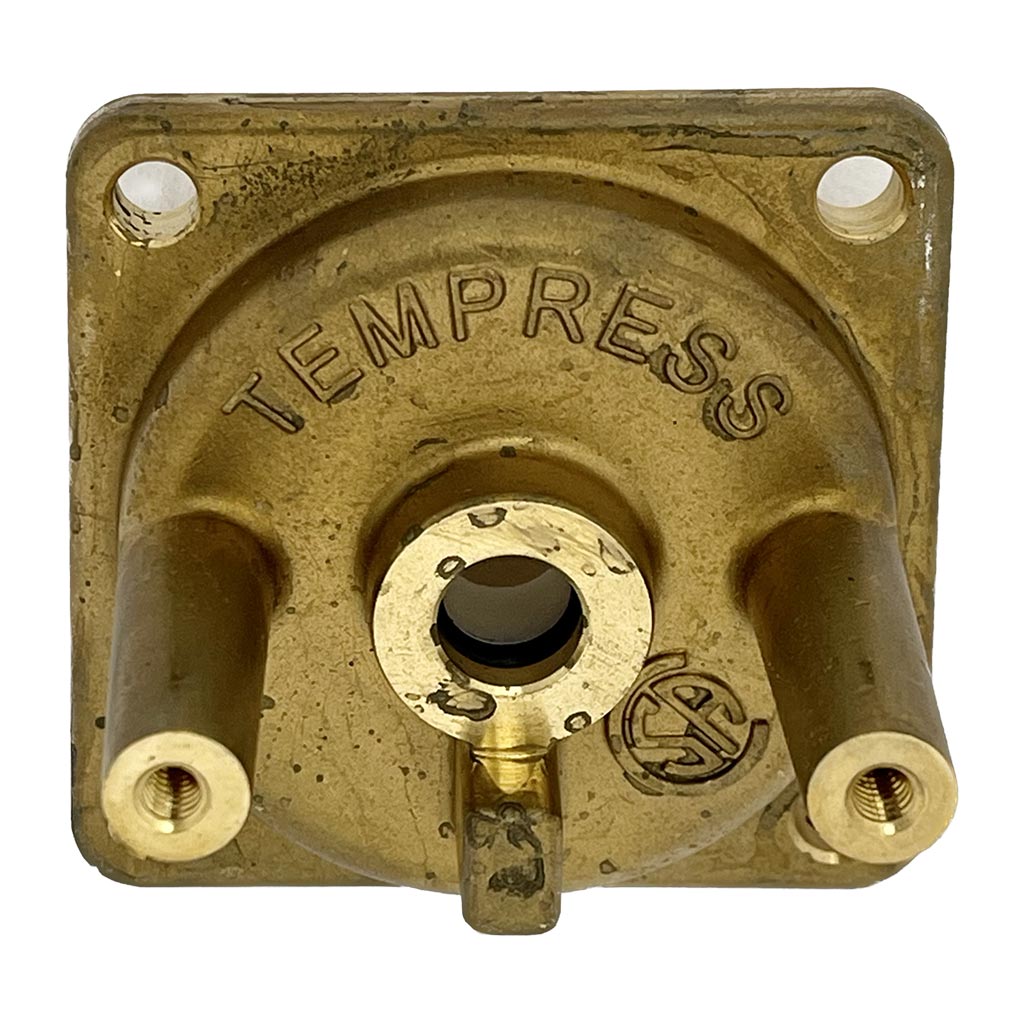
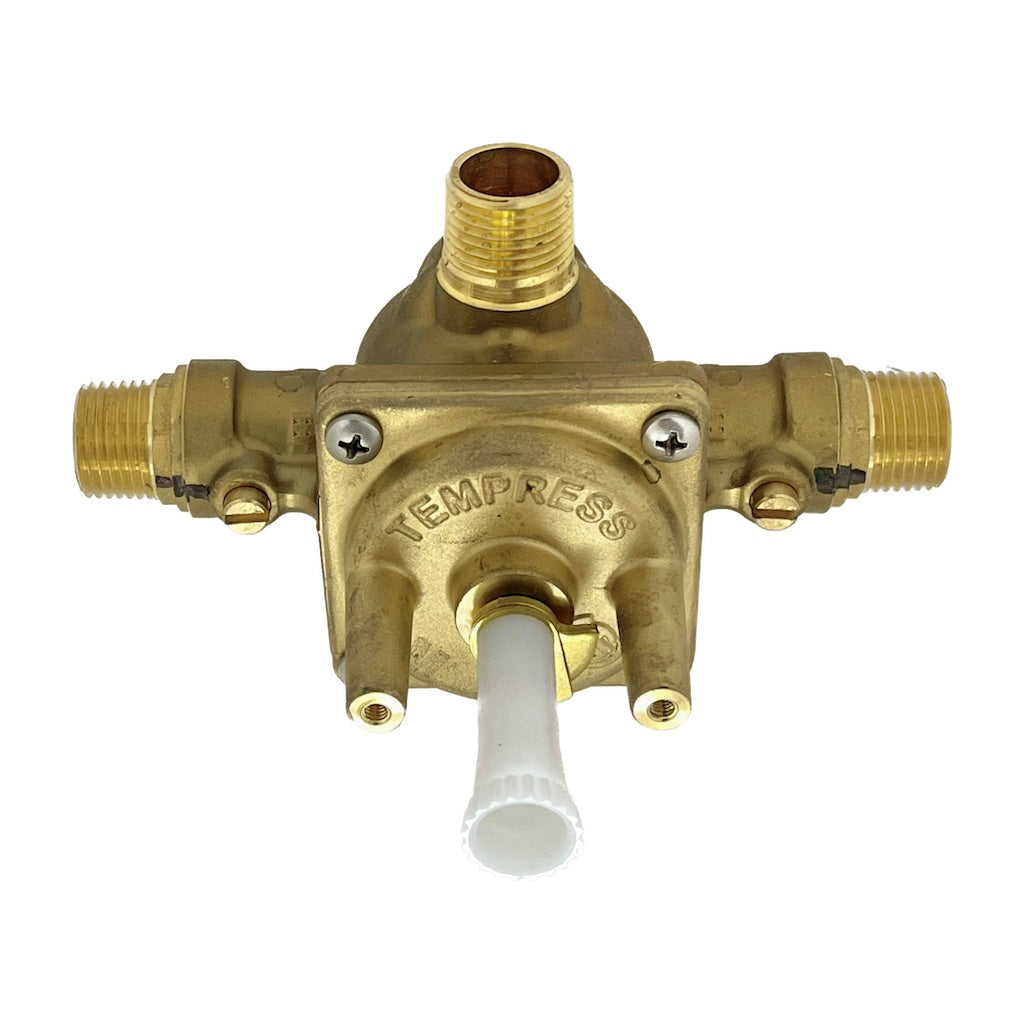
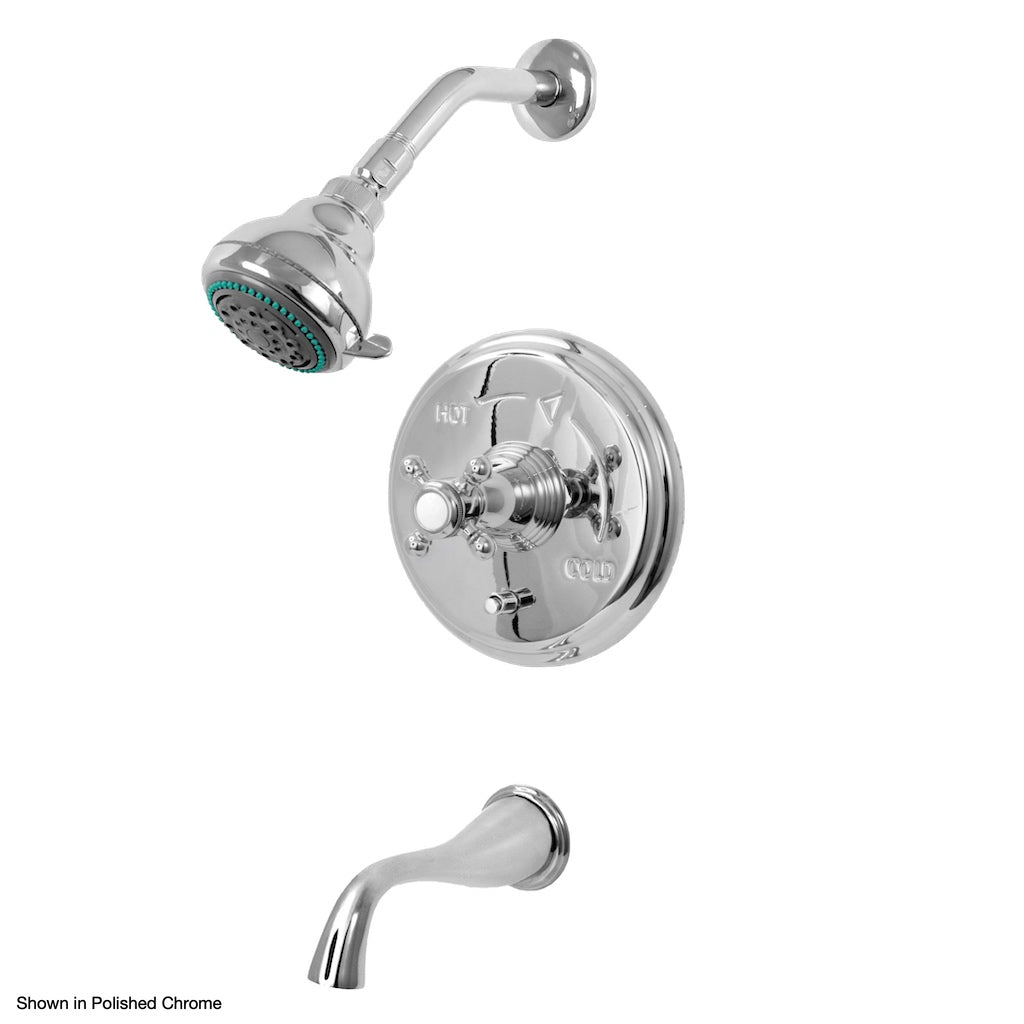
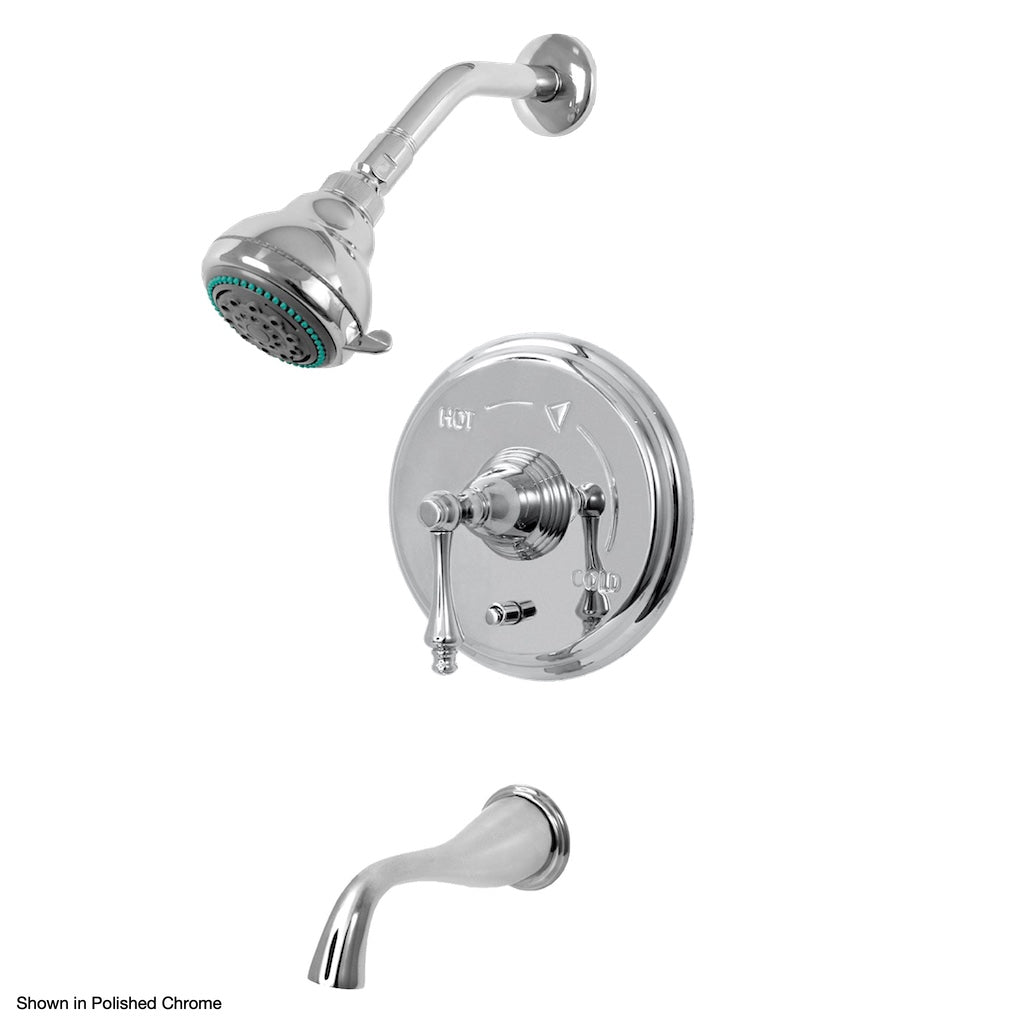
Click a valve model to view its parts. Note distinguishing features.

Sigma Tempress T-II Valve ↓

Tempress II Valve ↓

Tempress II EF Valve ↓

Tempress Valve ↓

Tempress RPB-II Valve ↓
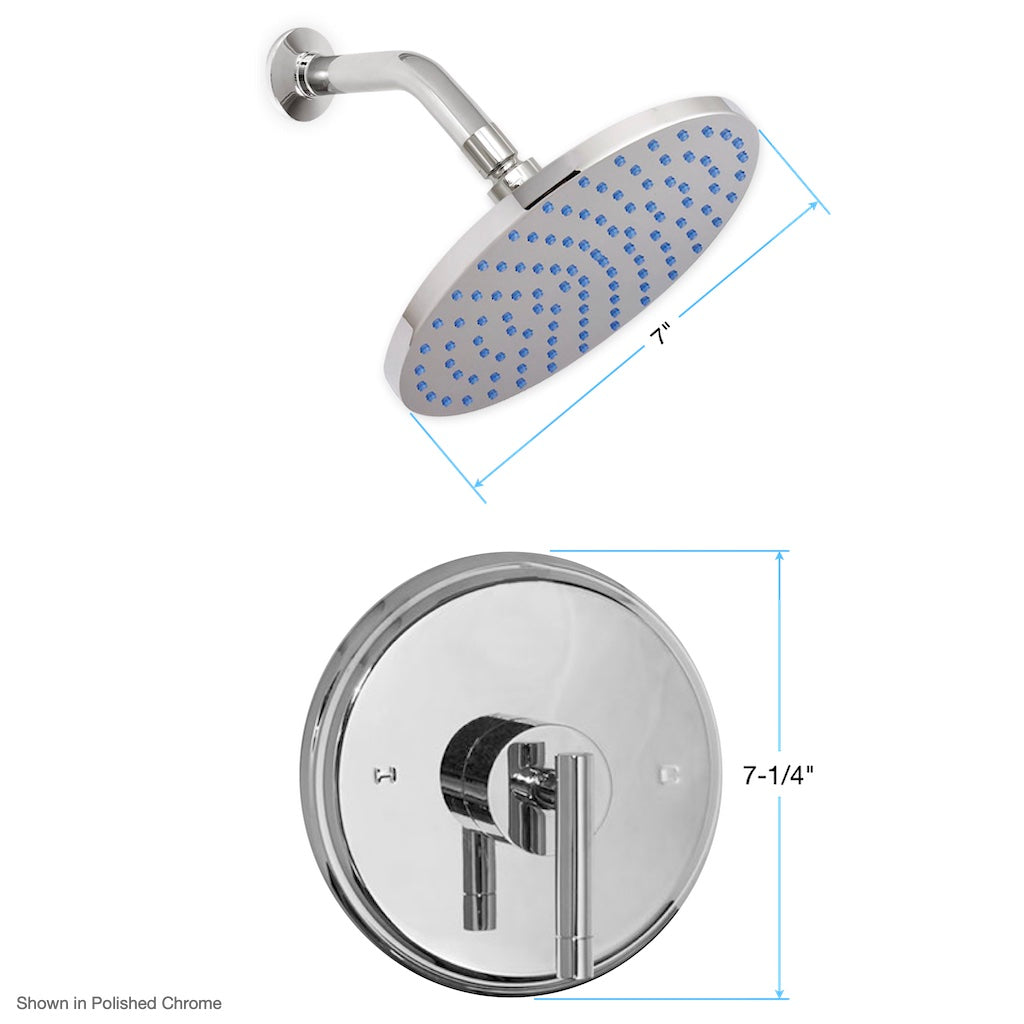
Sigma Tempress T-II Valve Parts (1985 to 2000)

Parts below are for valve shown above
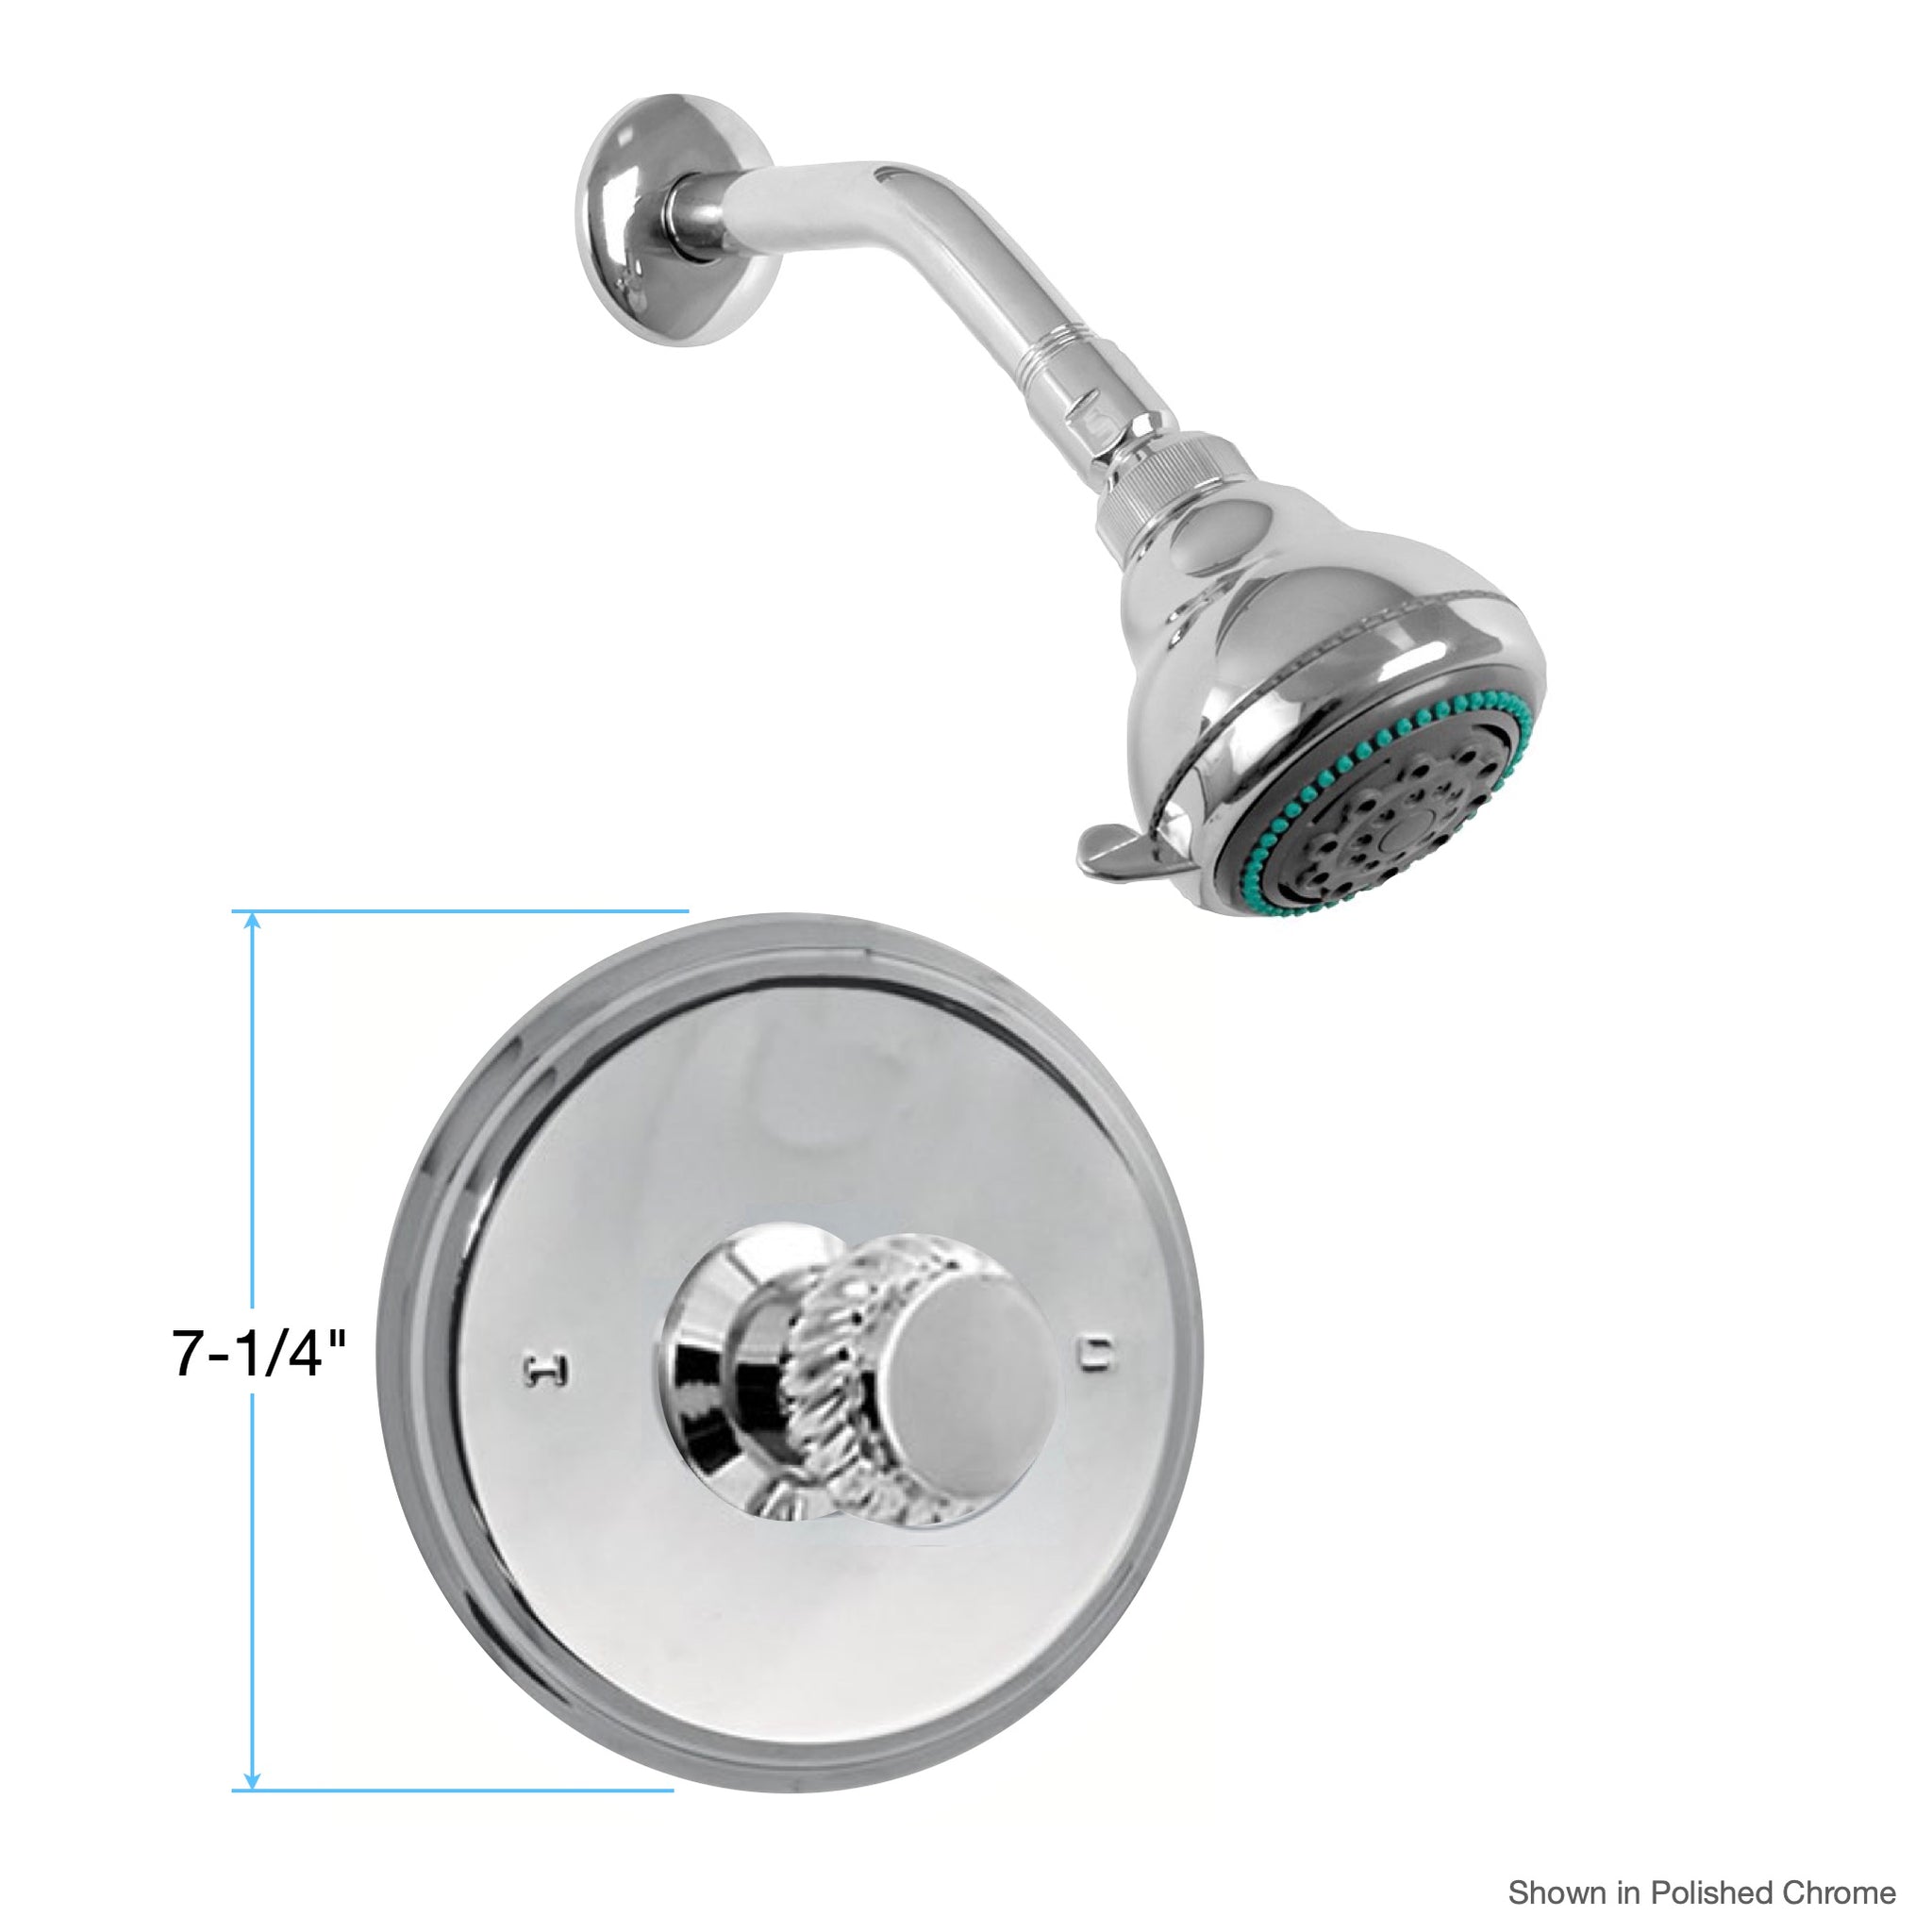
Tempress II Valve Parts (1985 to 2000)

Parts below are for valve shown above
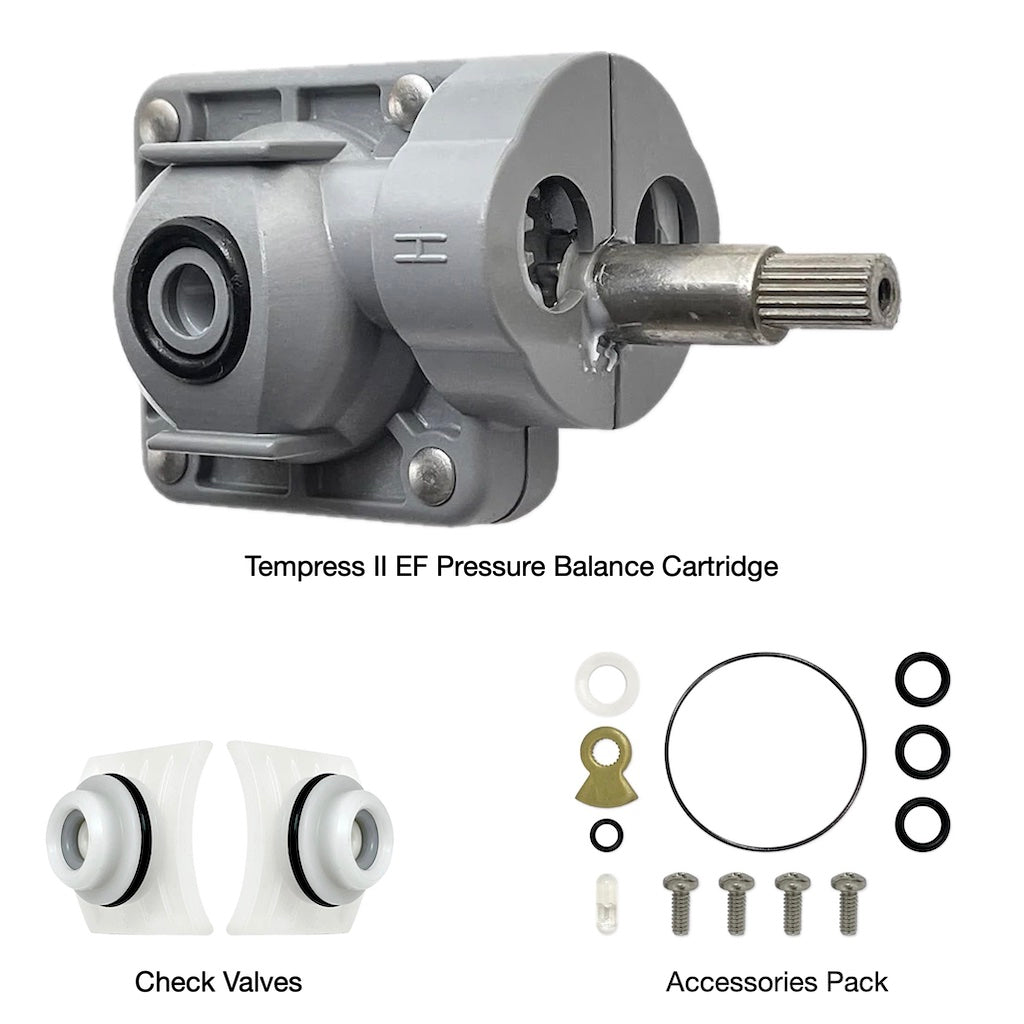
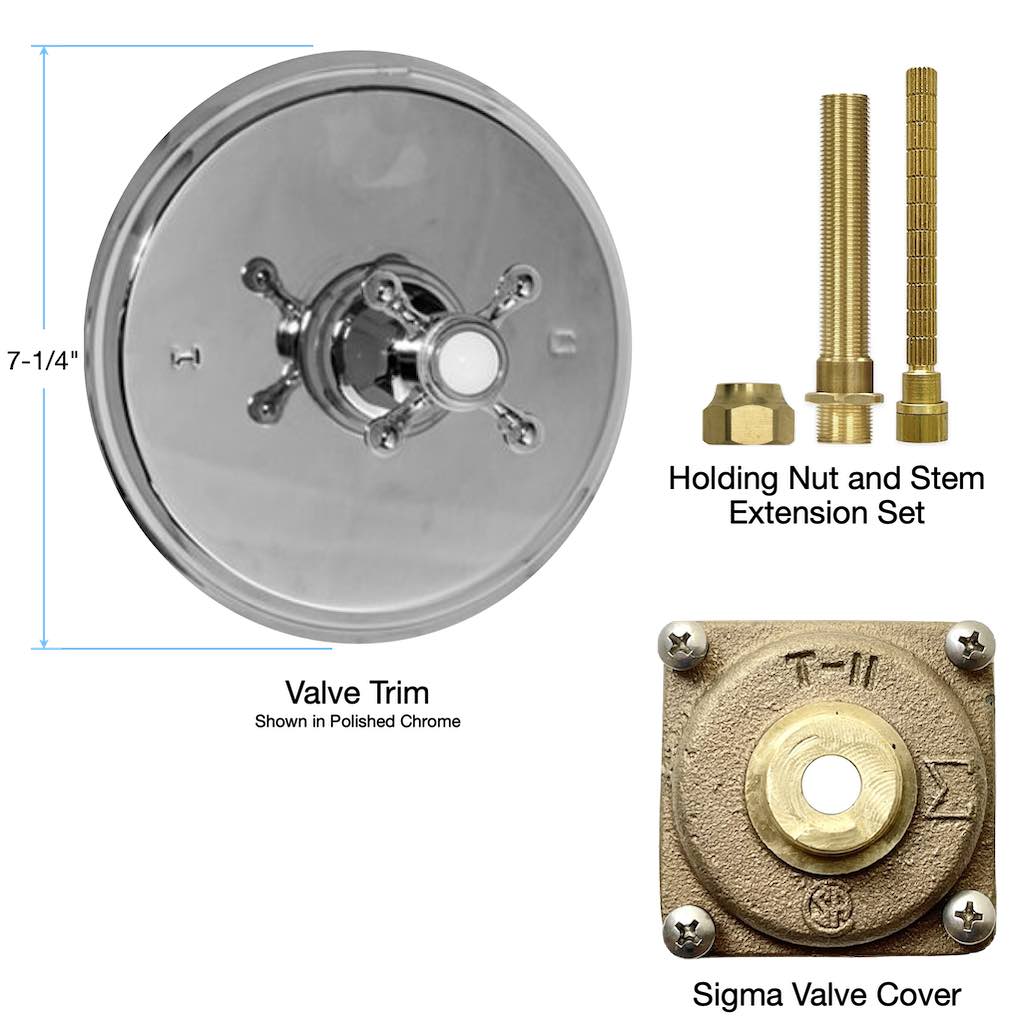
Tempress II EF (Enhanced Flow) Valve Parts (2000-2008)

Parts below are for valve shown above
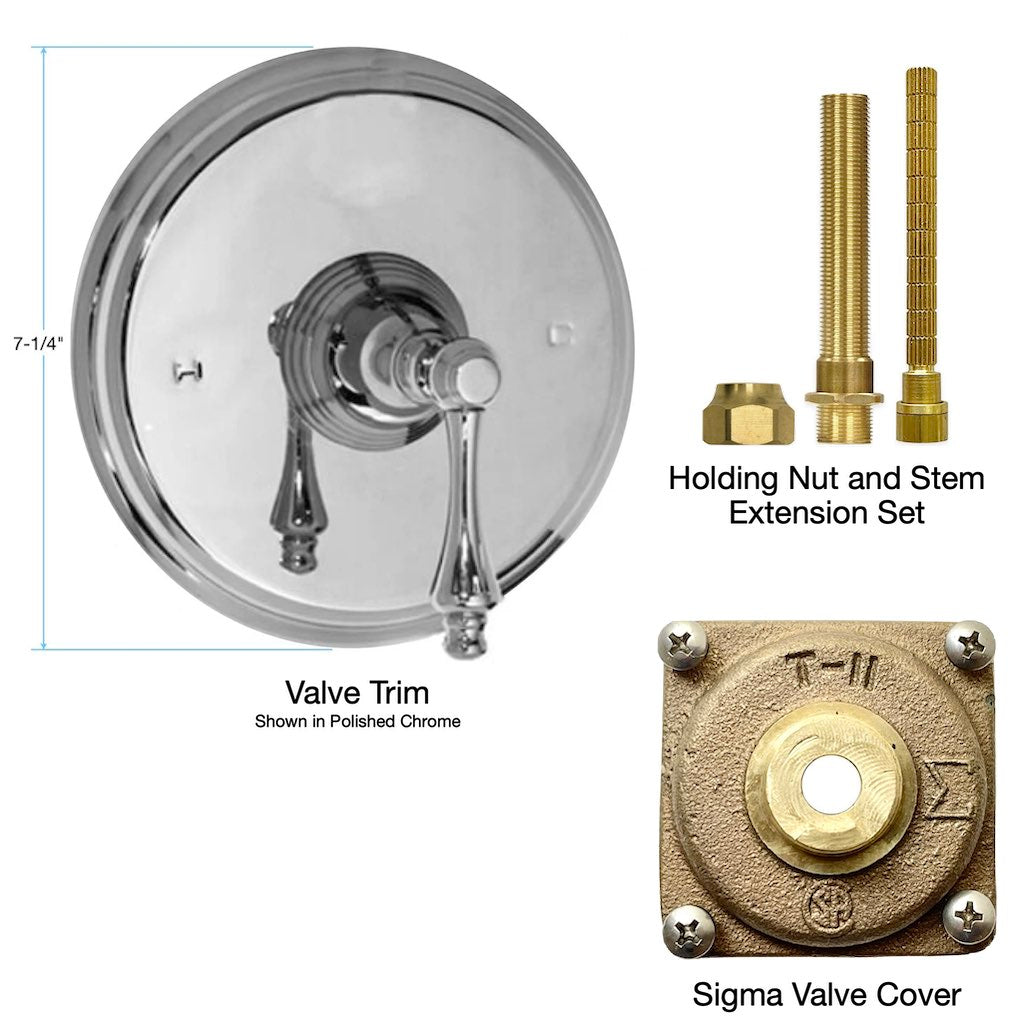
Tempress Valve (2008 and later)
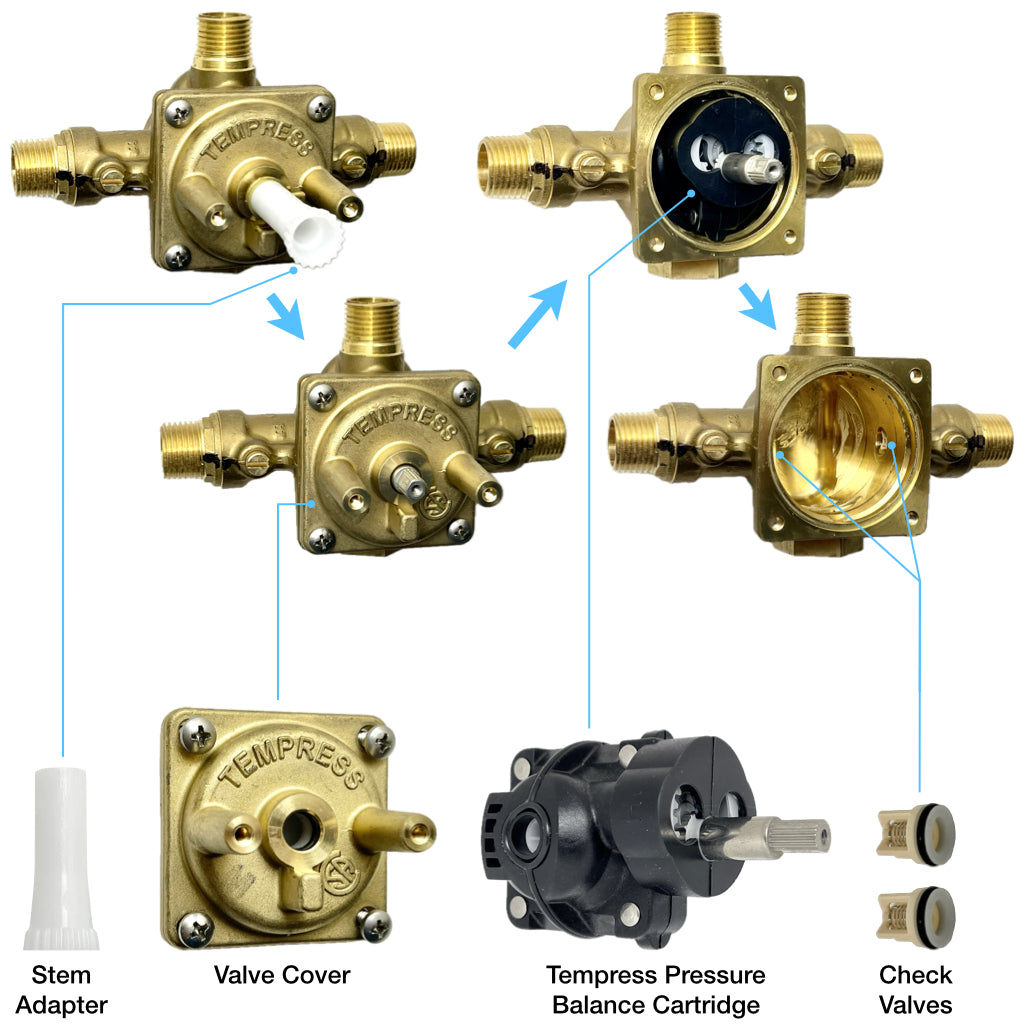
Parts below are for valve shown above
Tempress RPB-II Valve

Parts below are for valve shown above
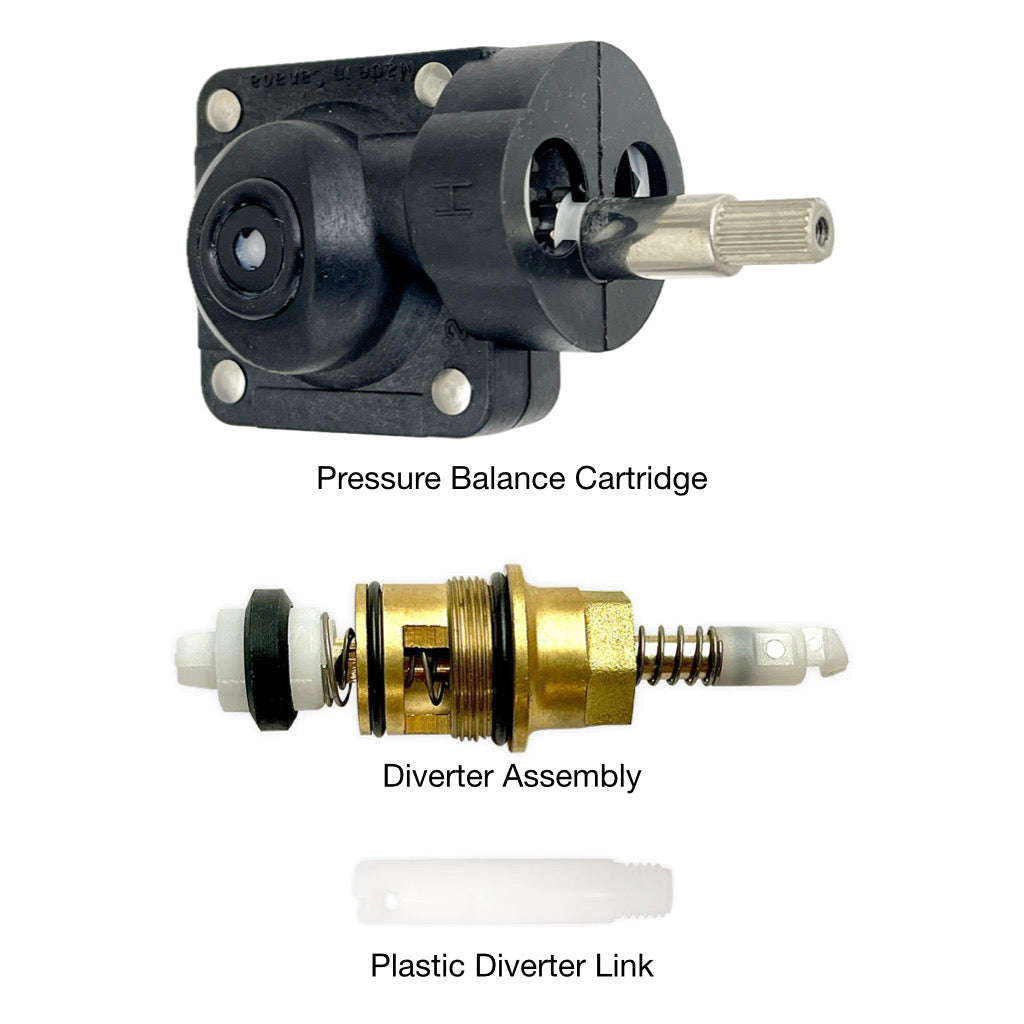
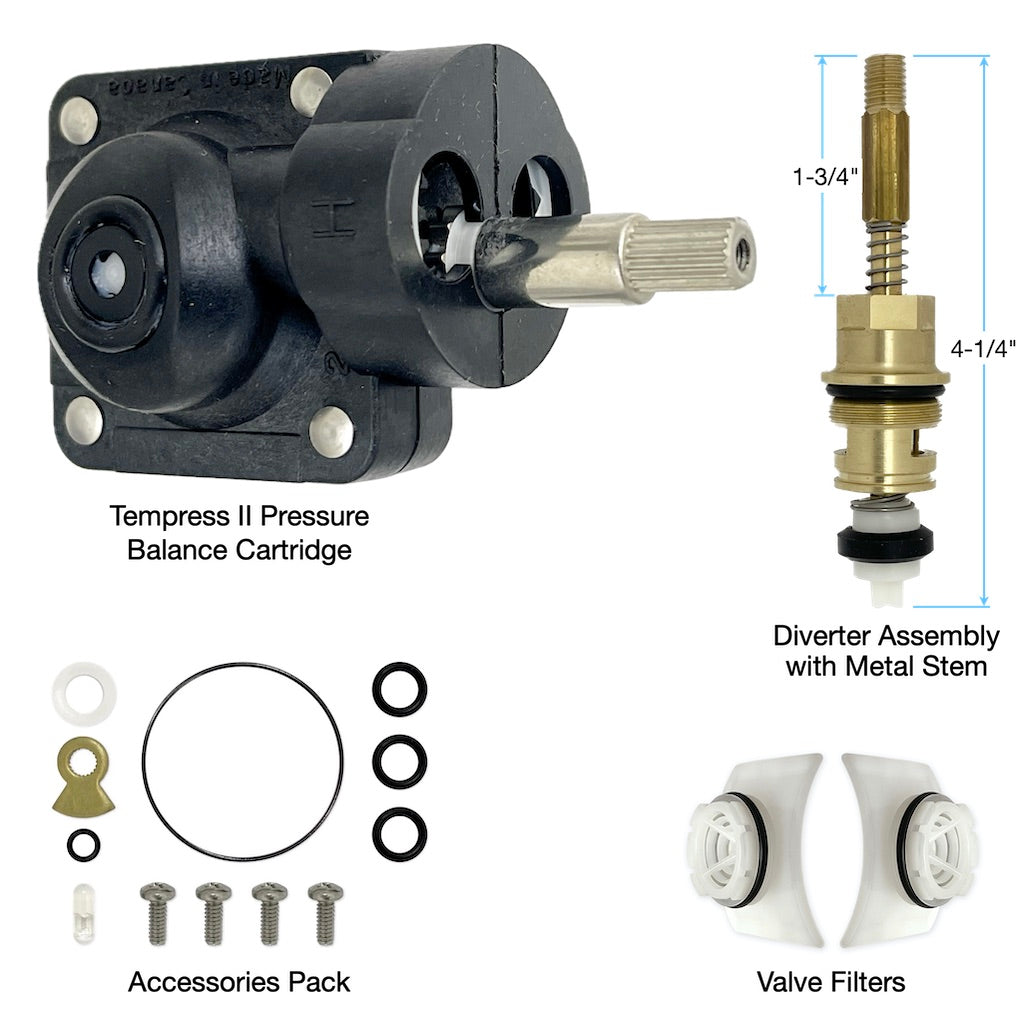
Tempress Cartridges
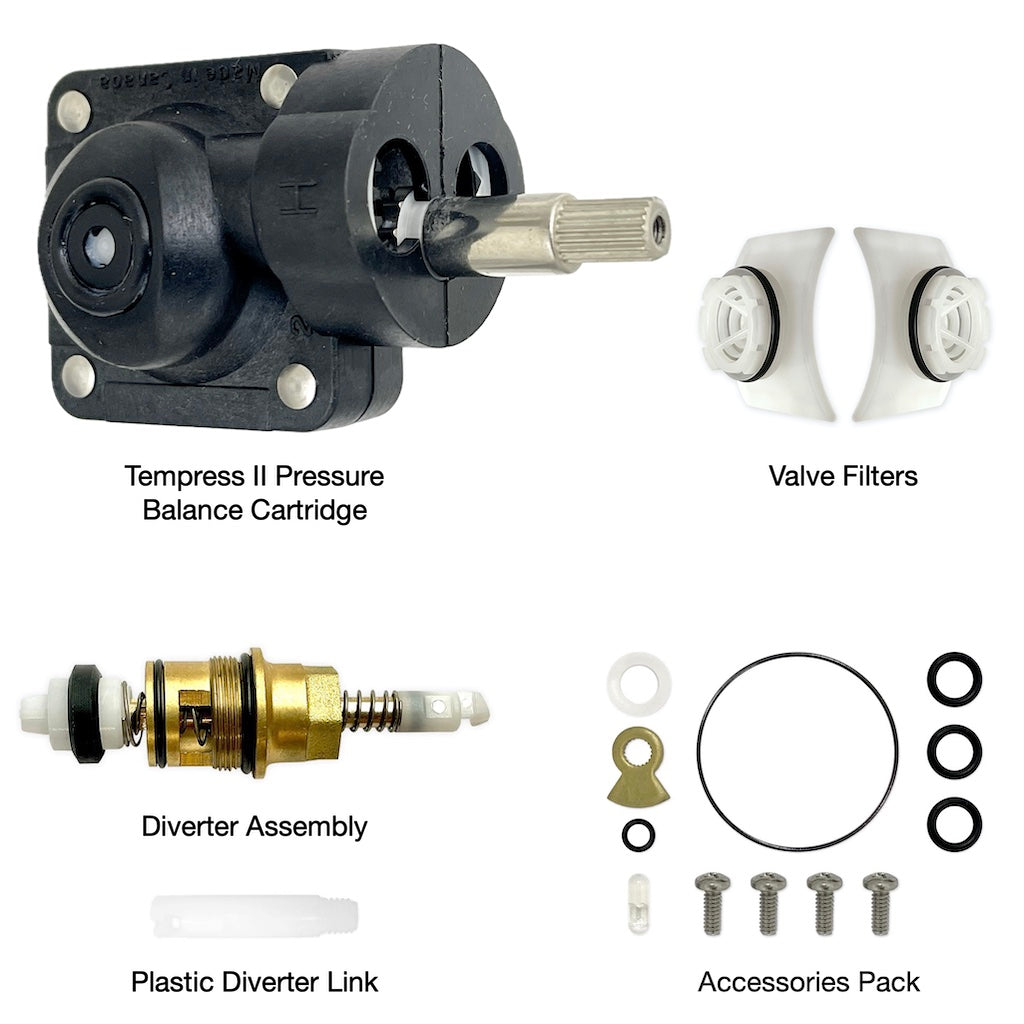
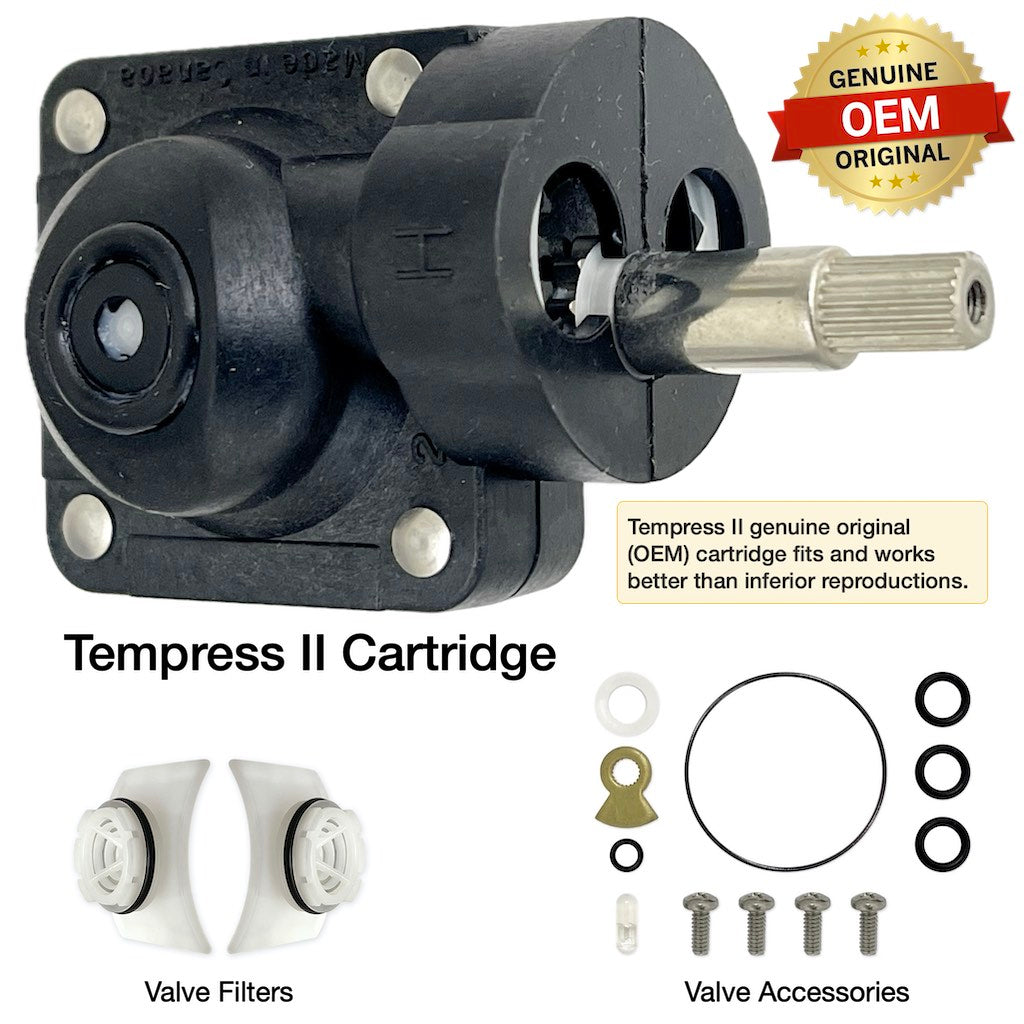
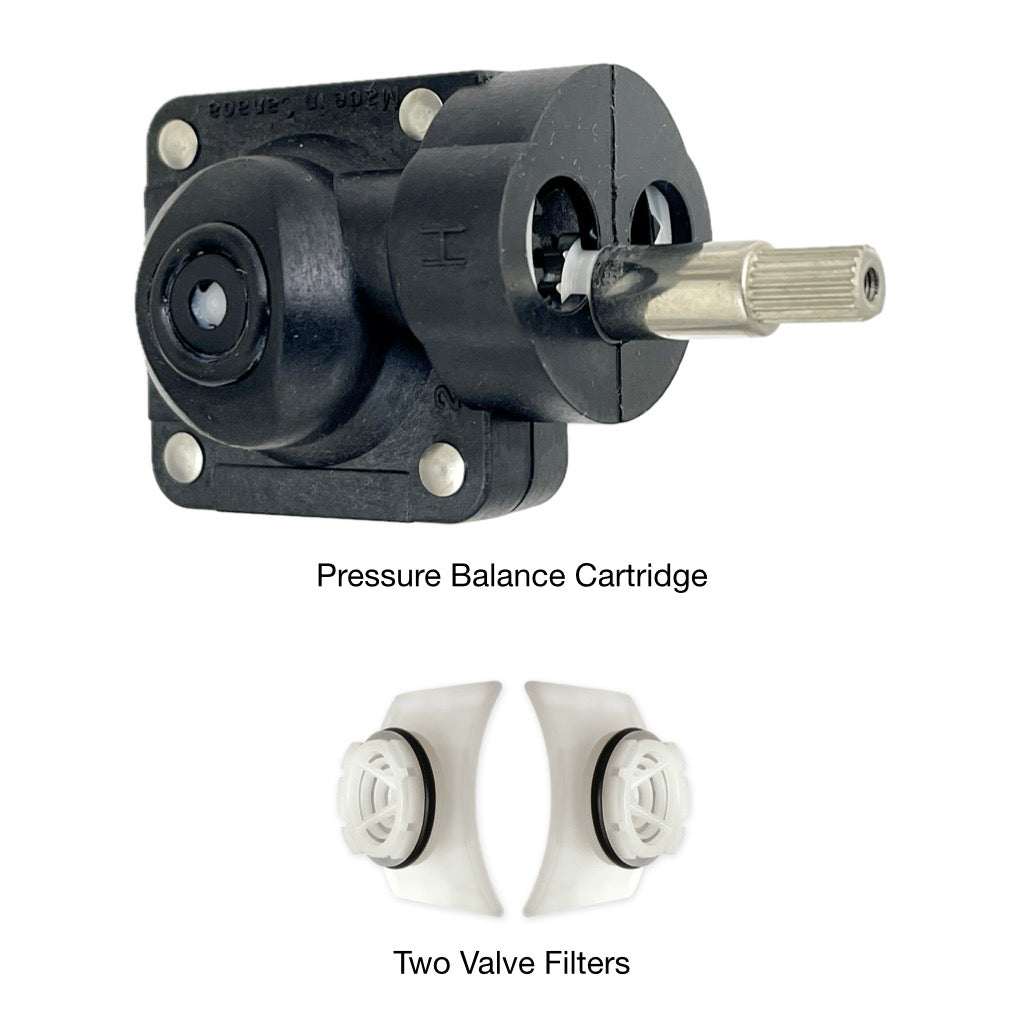
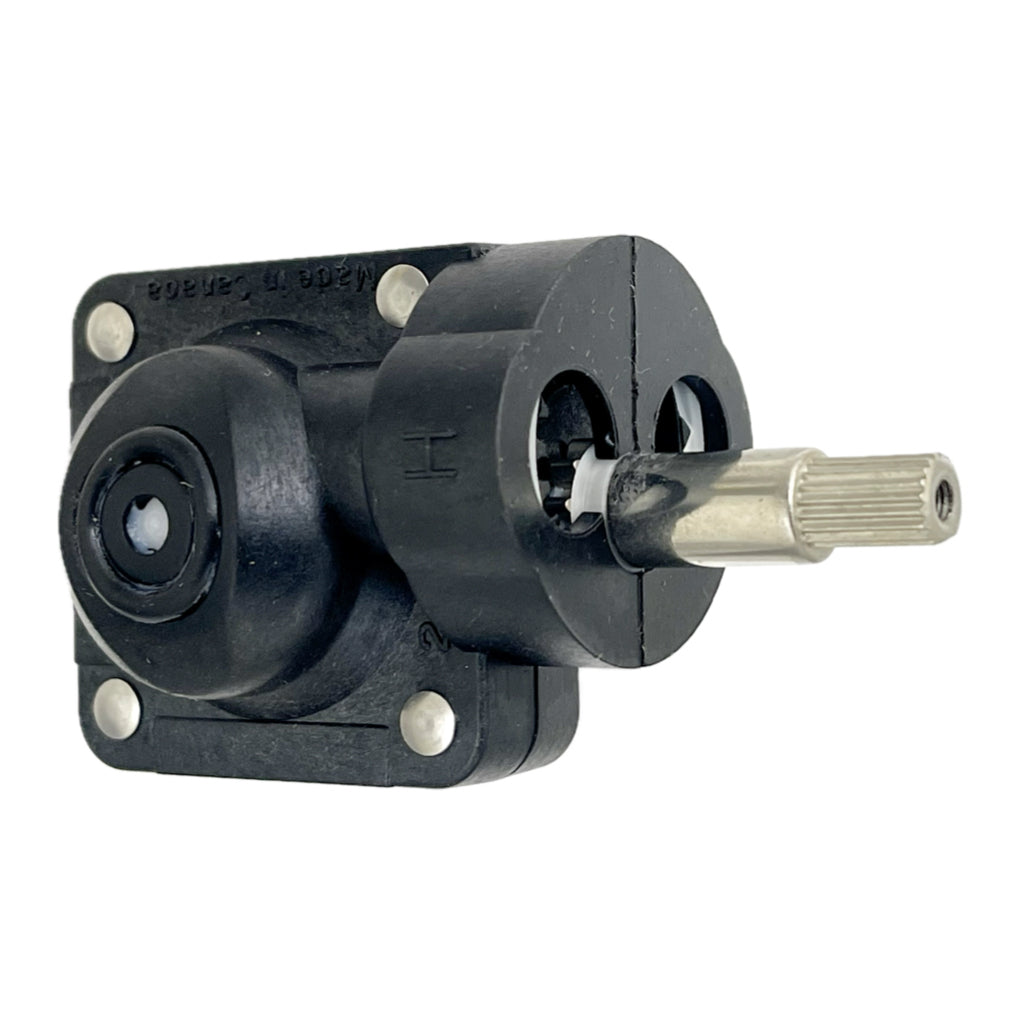
Tempress II Cartridge
1985 to 2000
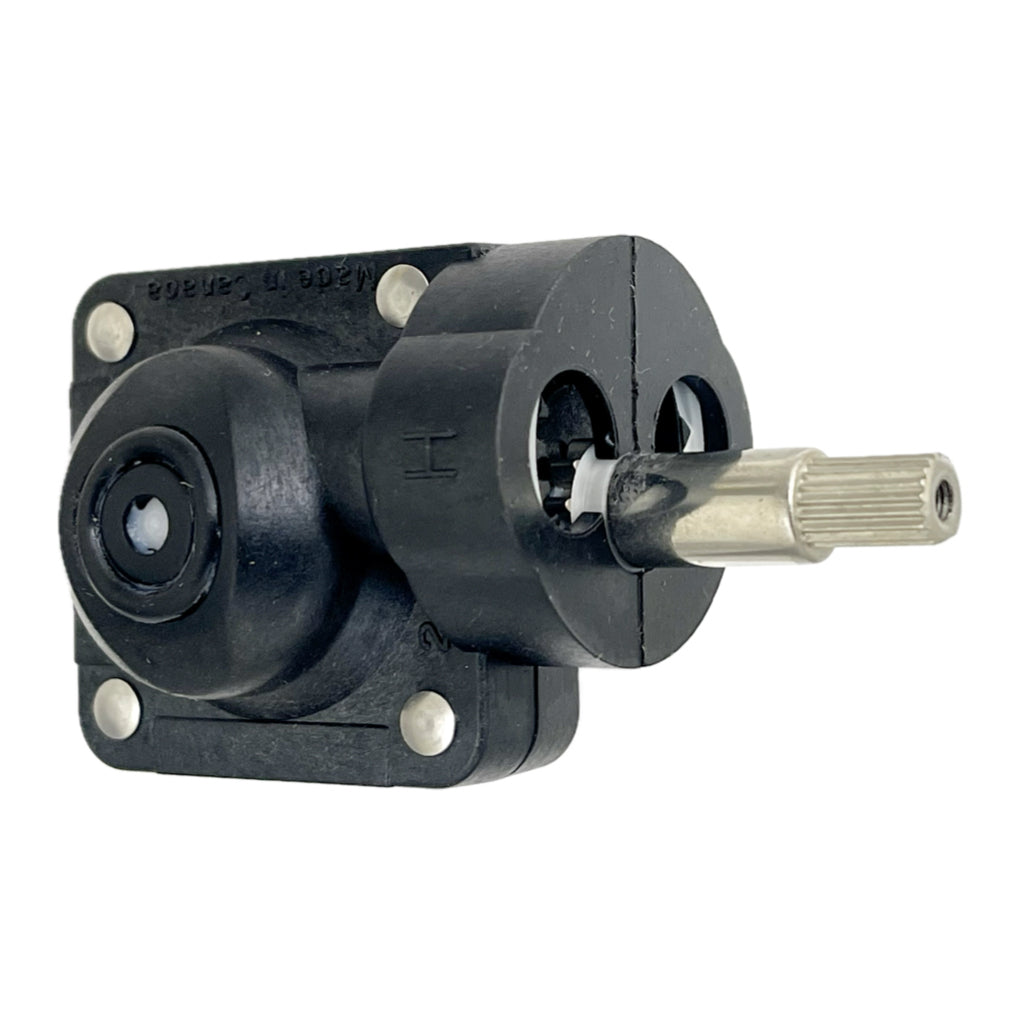
- Used in Tempress II Valves 1985 to 2000
- Black body
- No ridges on sides
- Has integrated check valves
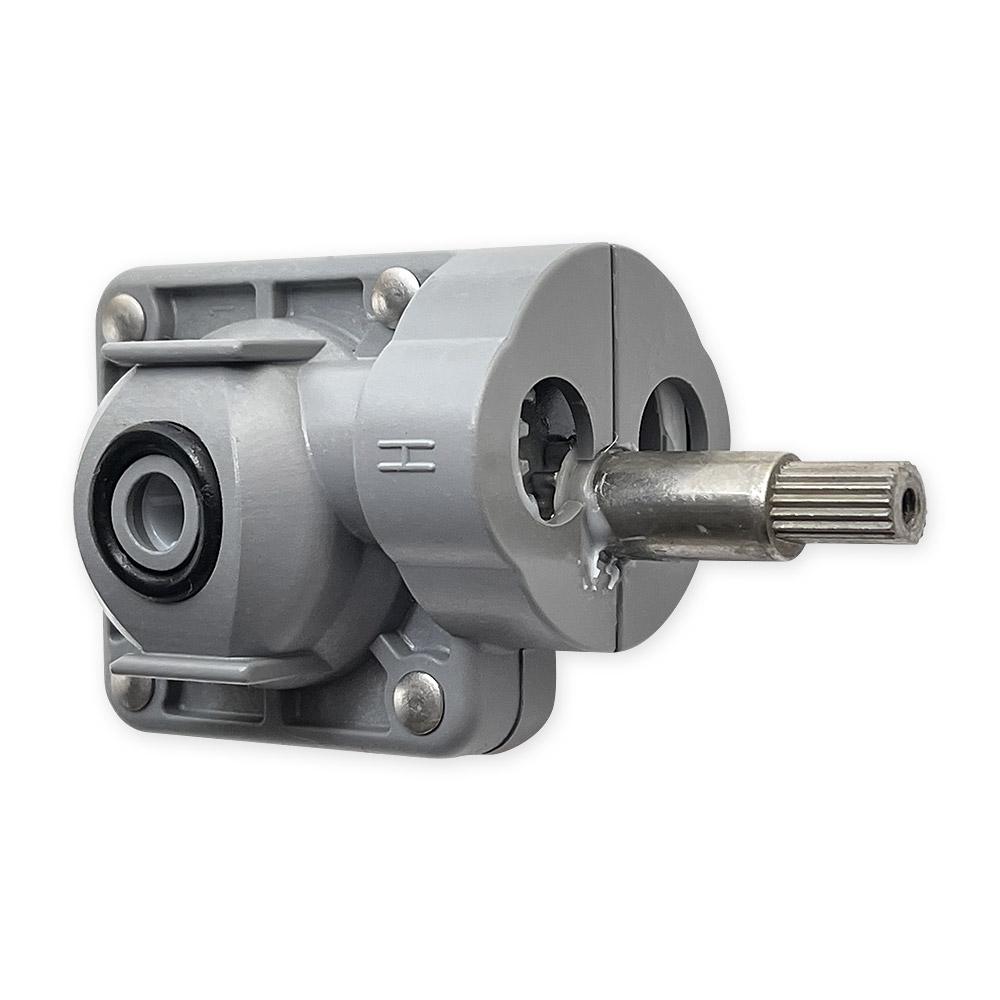
Tempress II Cartridge
2000 to 2008

- Used in Tempress Valves 2000 to 2008
- Gray body
- Has two ridges on sides
- Has integrated check valves
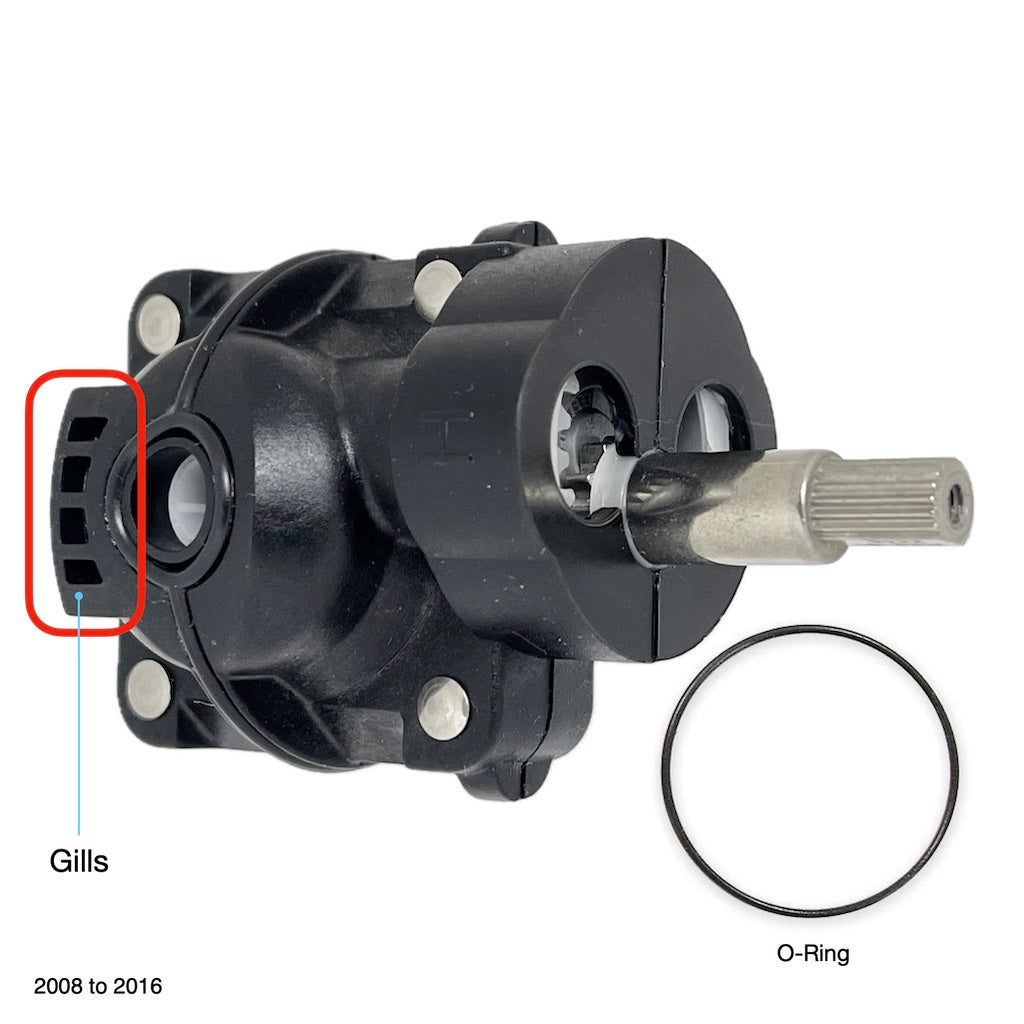
Tempress Cartridge
2008 to 2016

- Used in Tempress Valves 2008 to 2016
- Black body
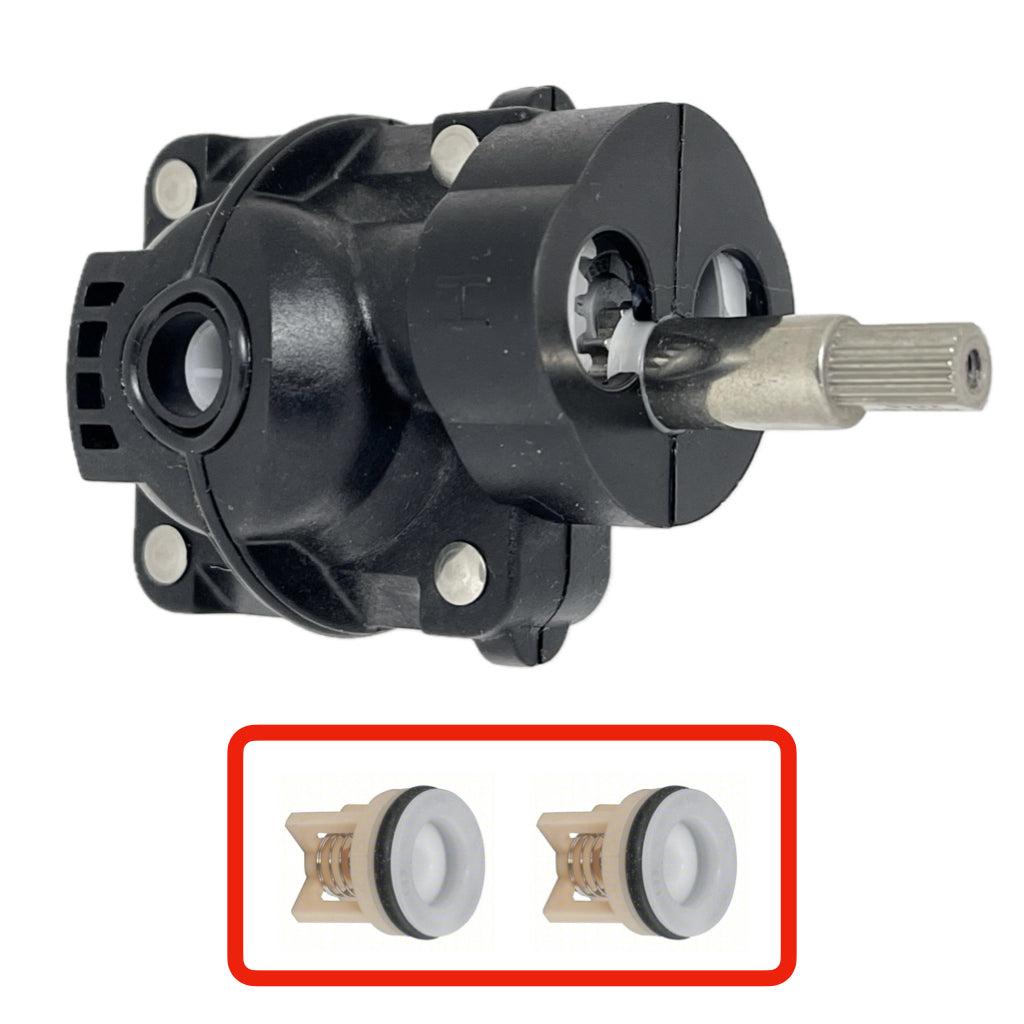
- Has gills on sides
- Has modular check valves
Cartridge for 1/2"
Tempress RPB-II Valve
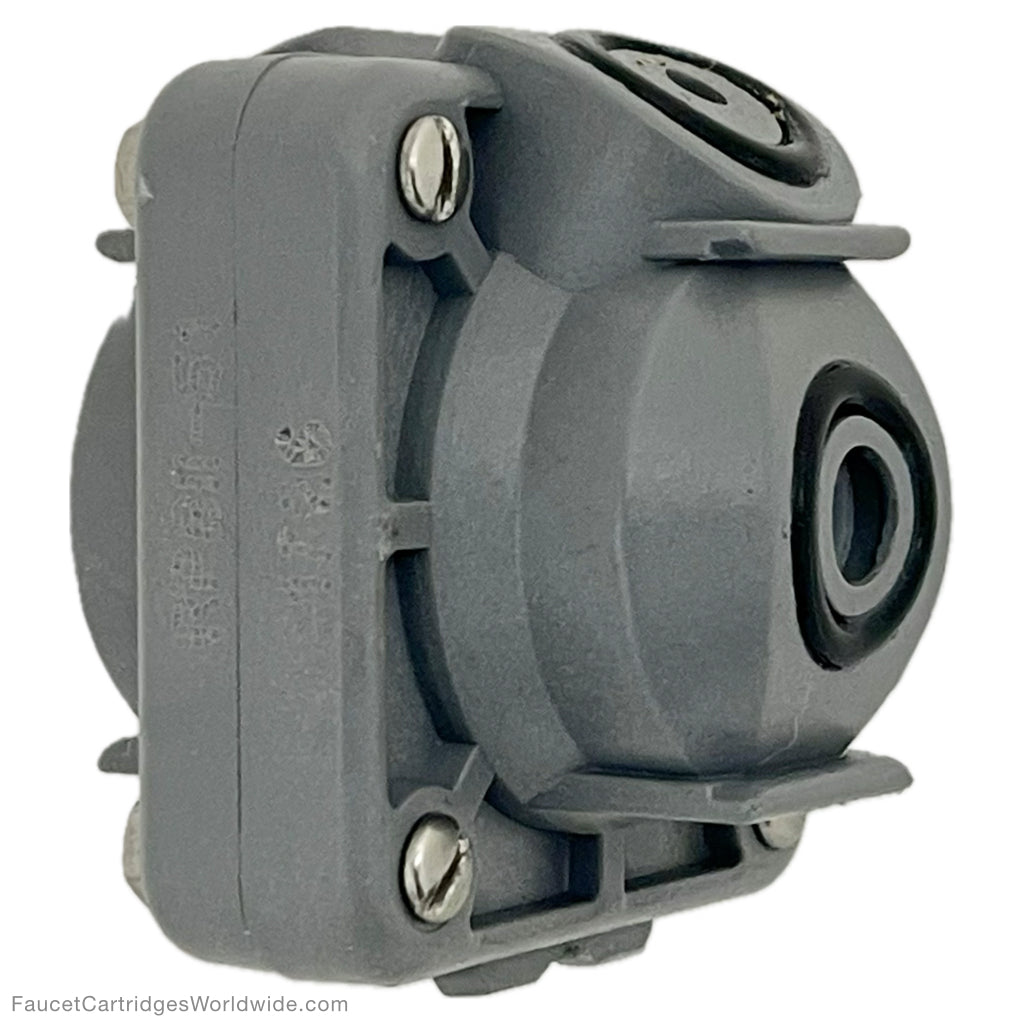
- Used in Tempress RPB-II Valve
- Has 2 openings on top
- Gray body
- Integrated check valves
Tempress Diverters
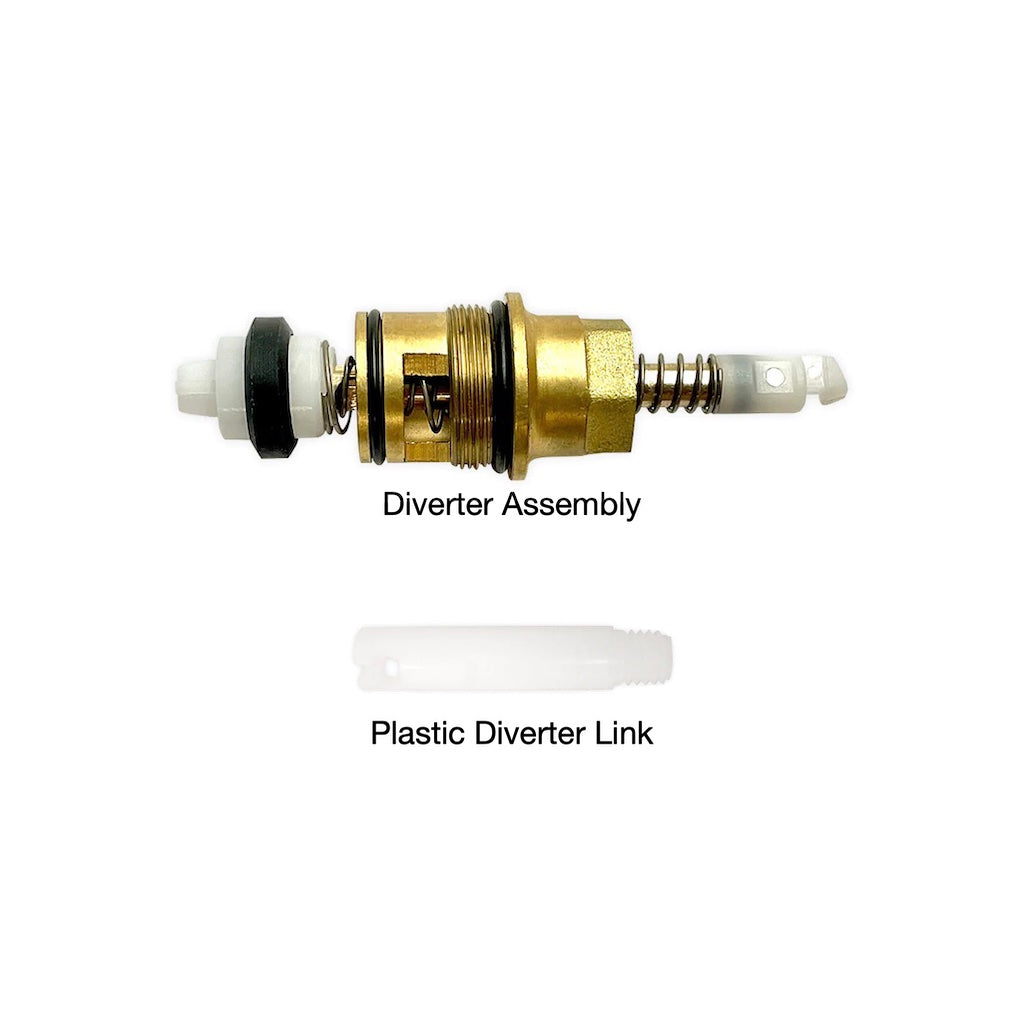
Tempress II Diverter
1985 to 2000
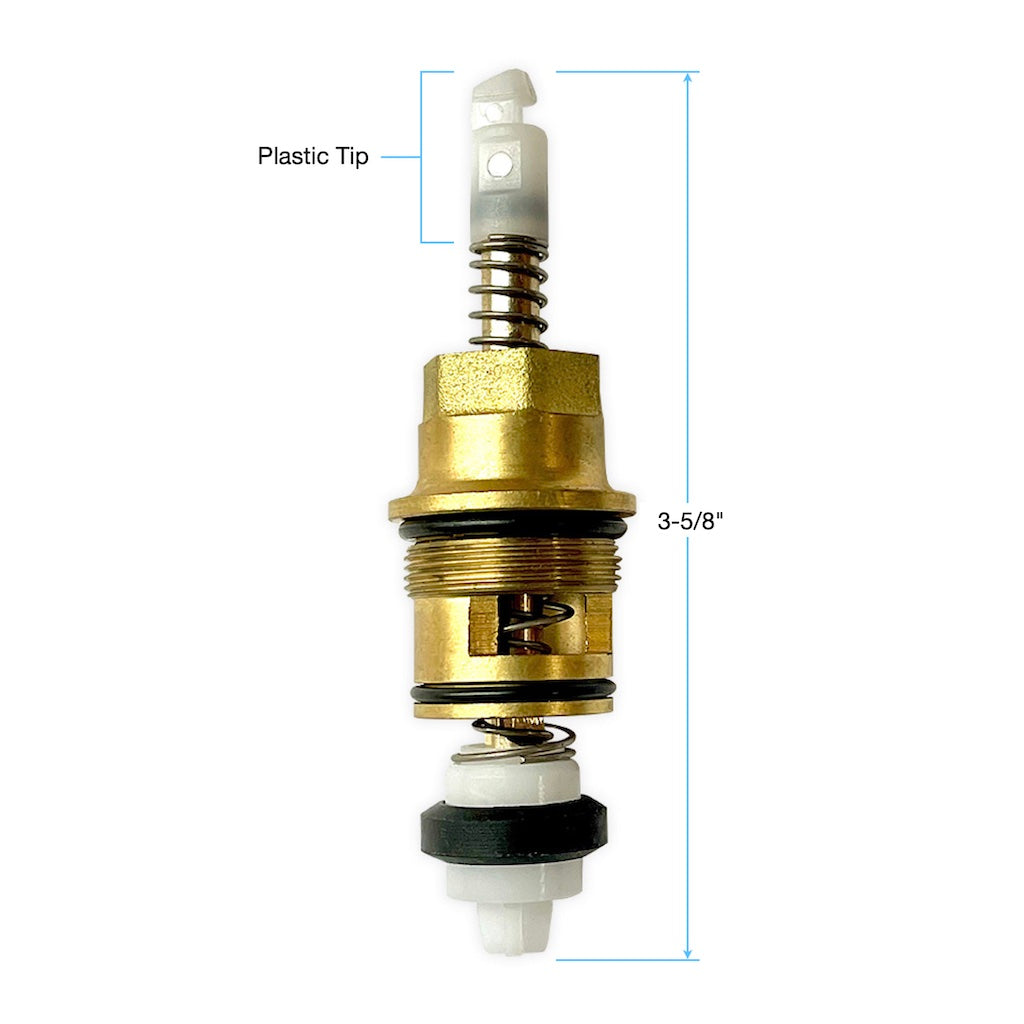
- Tempress II Valves 1985 to 2000
- Plastic Tip
Tempress II Diverter
2000 to 2008
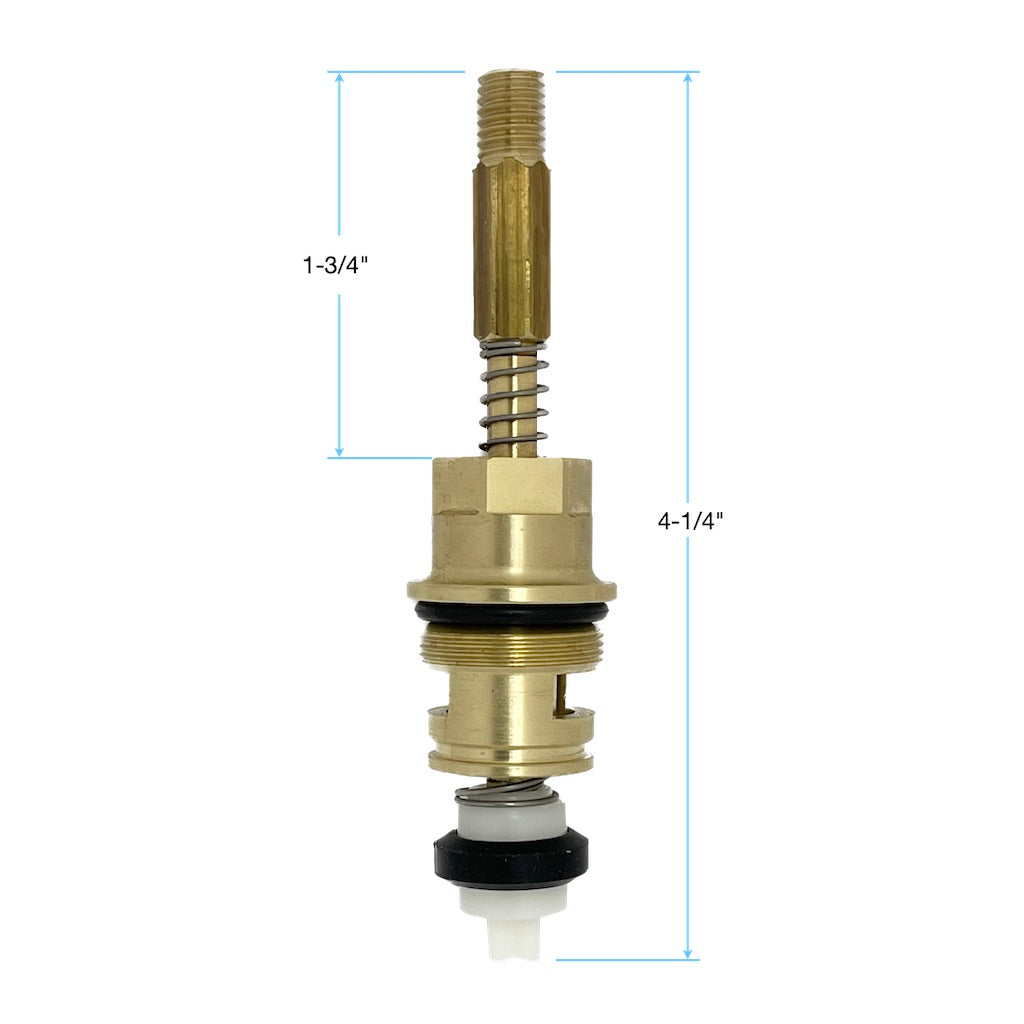
- Tempress II Valves 2000 to 2008
- Metal Tip
Tempress II Diverter
2008 to 2016
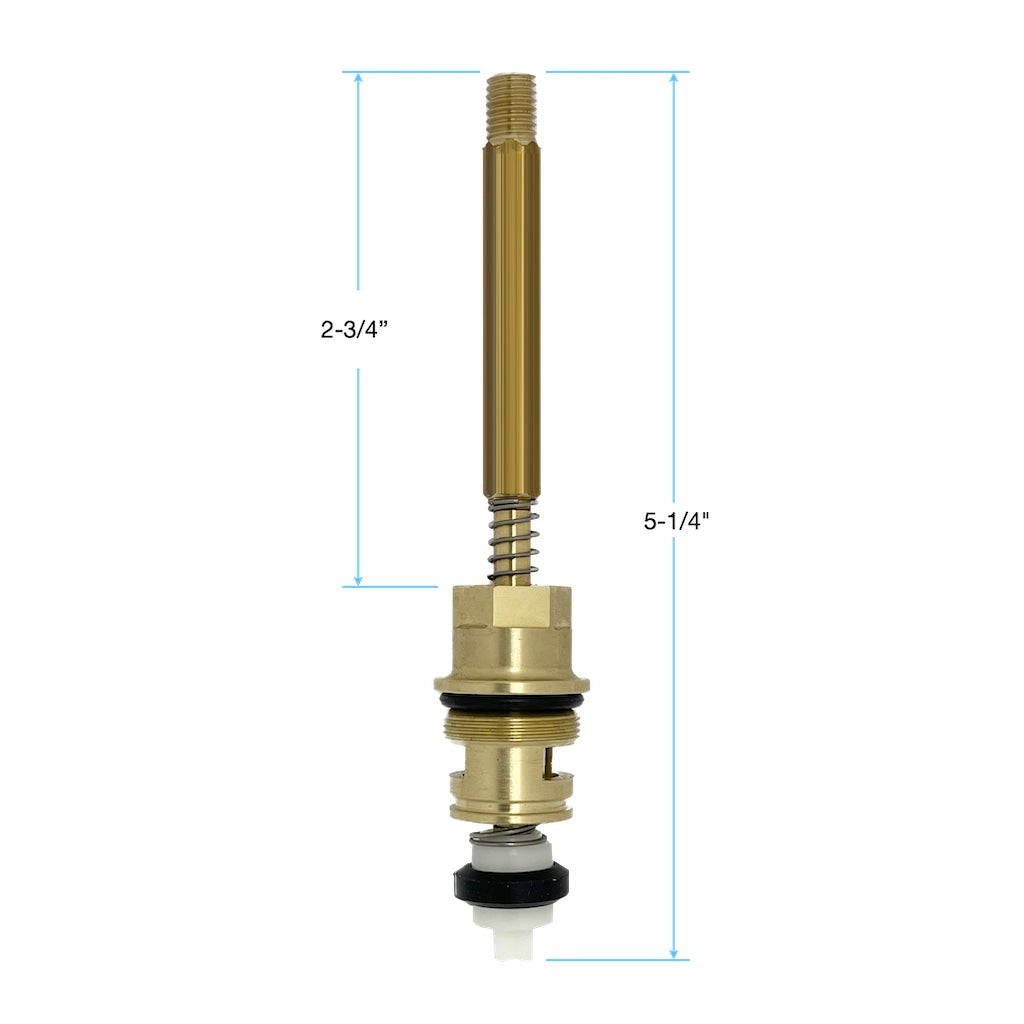
- Tempress II Valves 2008 to 2016
- Long Metal Tip
Tempress Diverter
Newer Model
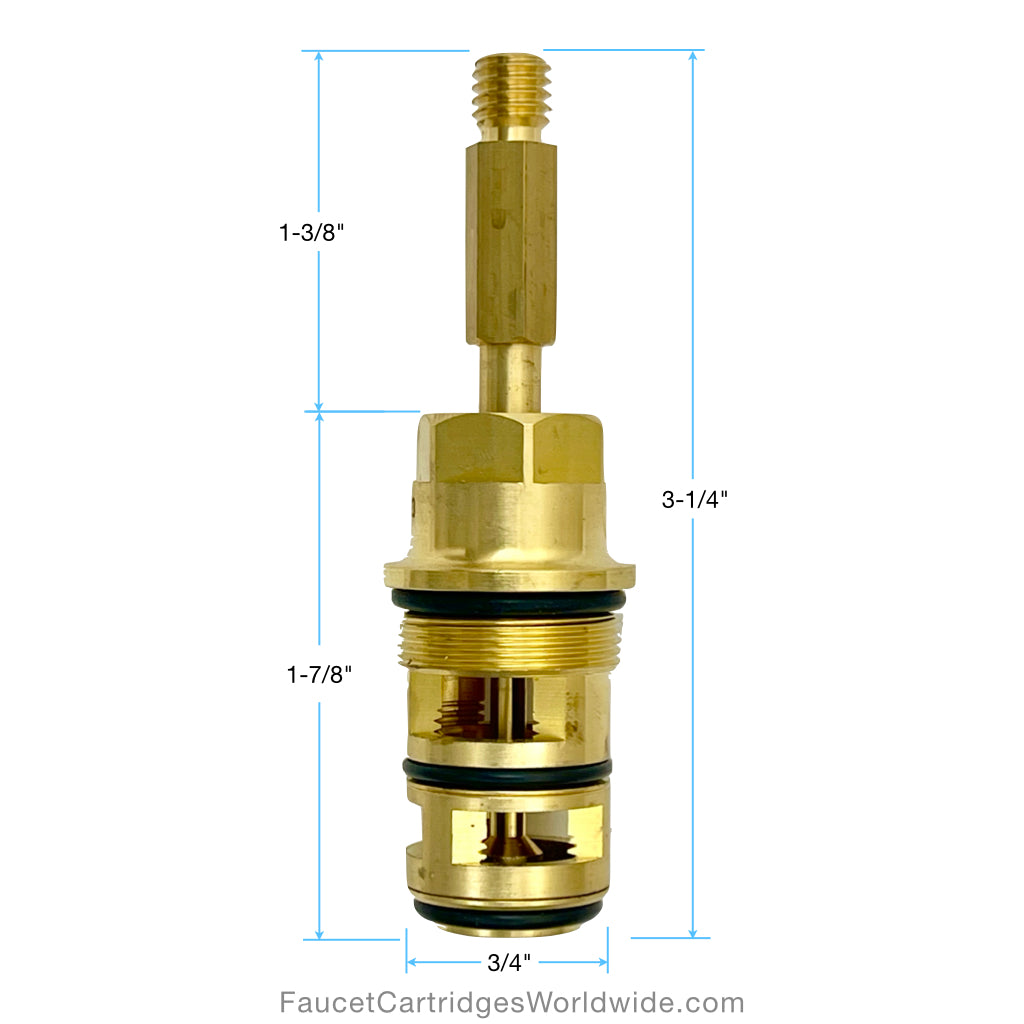
- Metal tip
- Brass bottom
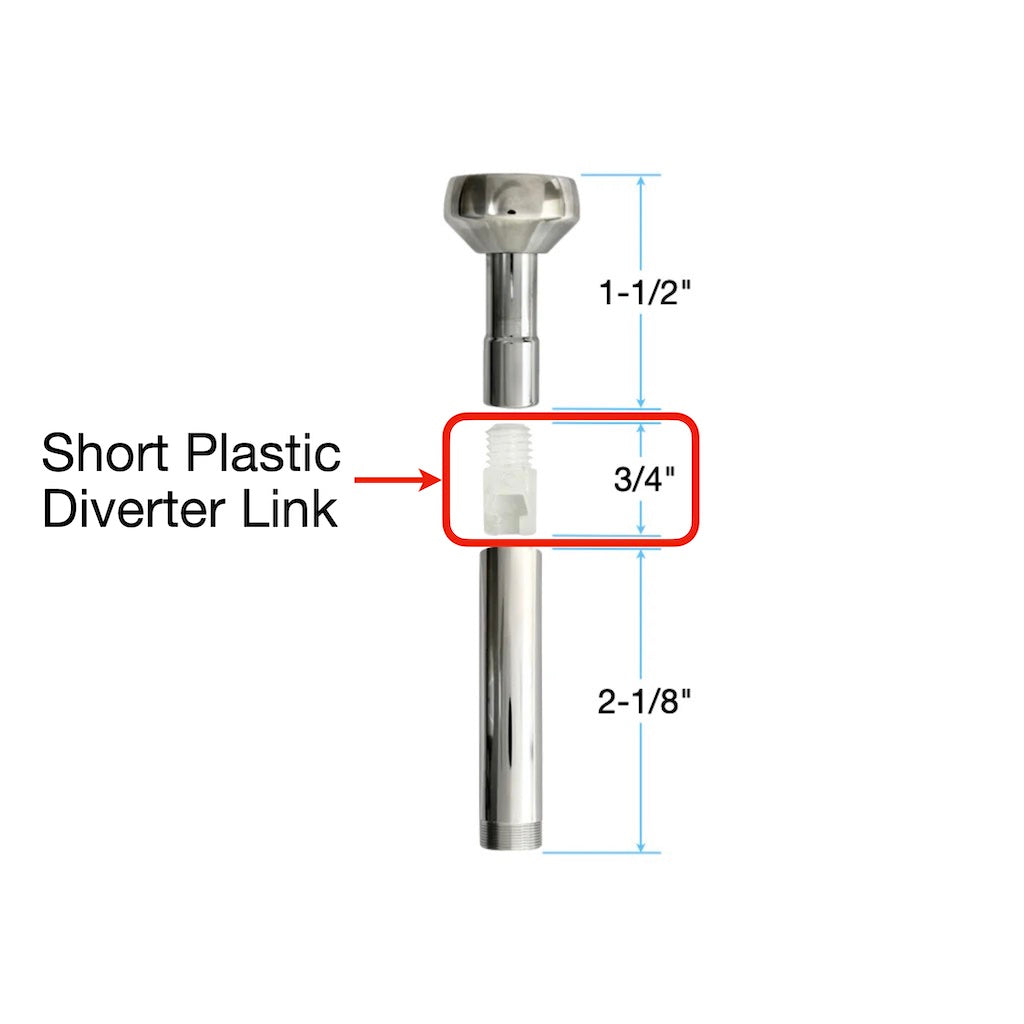
Diverter Links
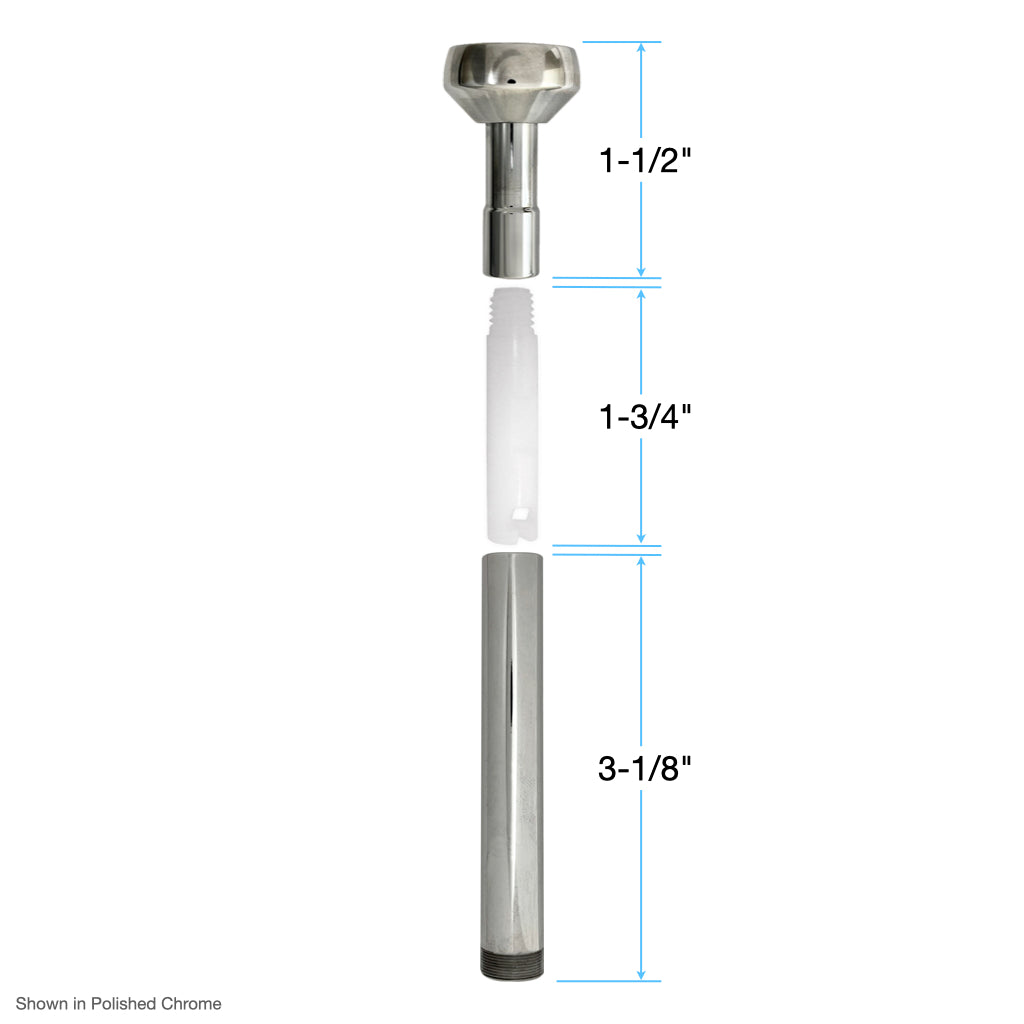
Long Plastic
Diverter Link
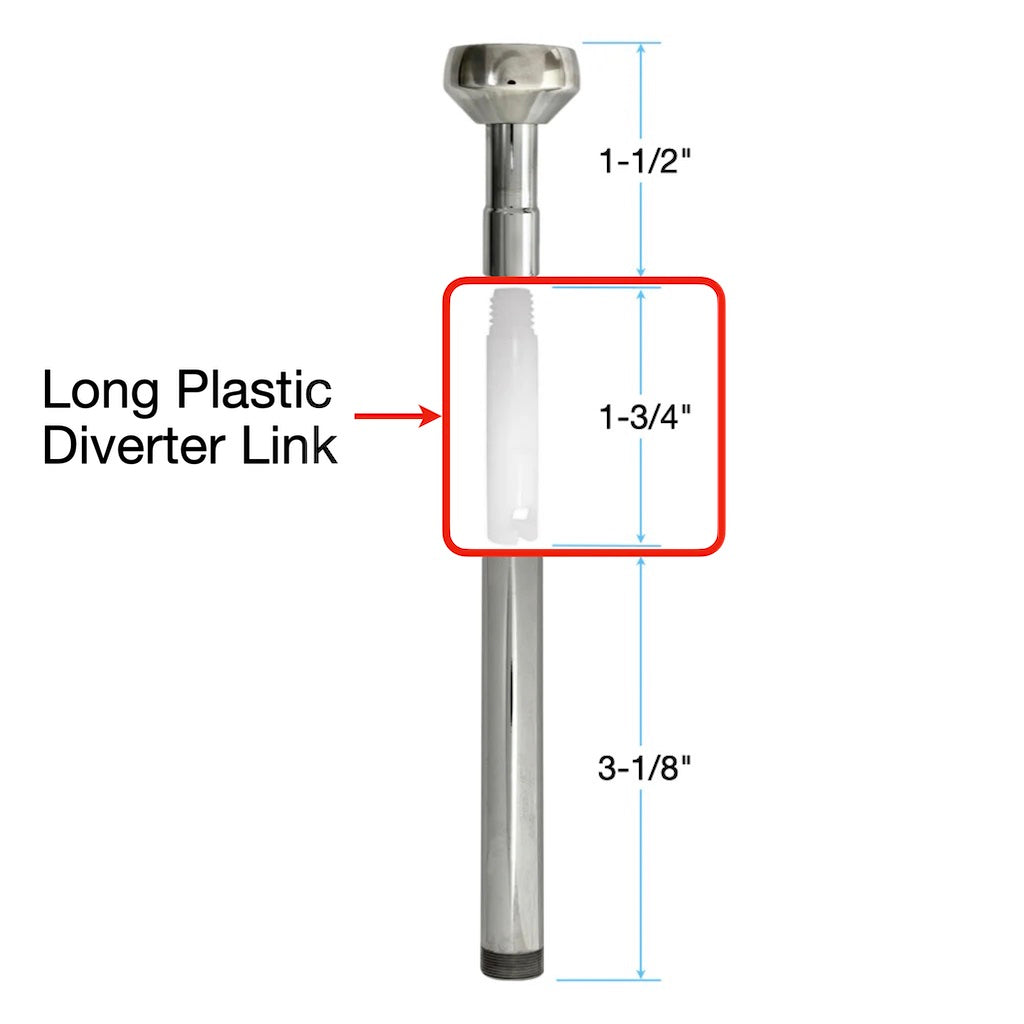
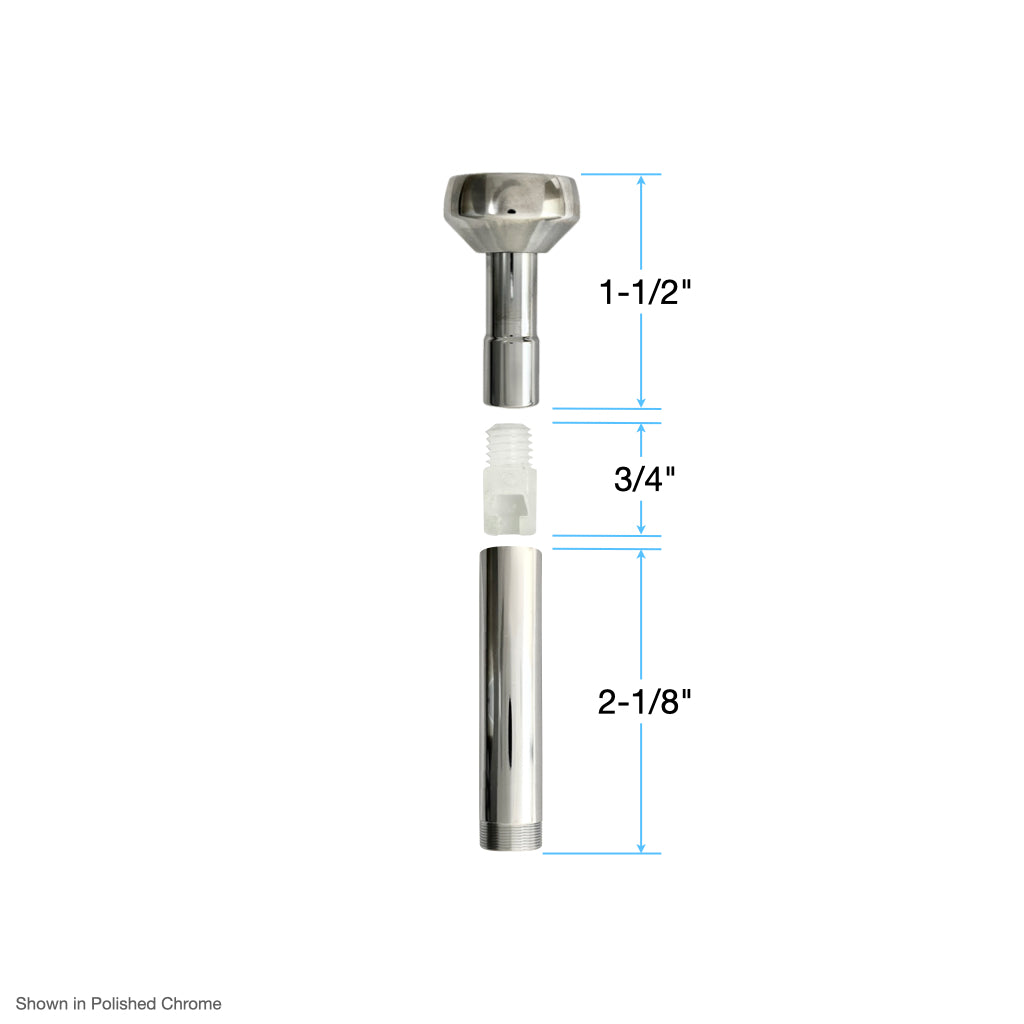
Short Plastic
Diverter Link
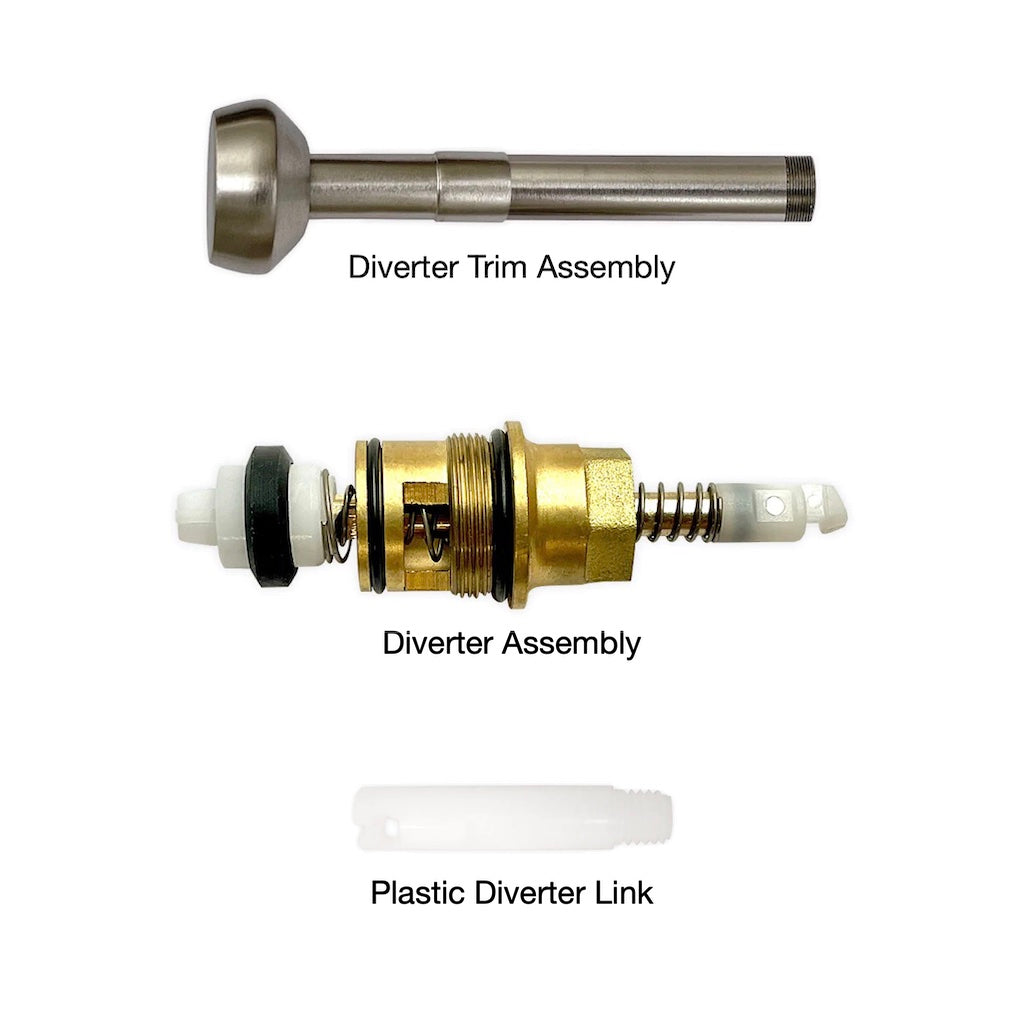
Diverter Trims
Shower Trims
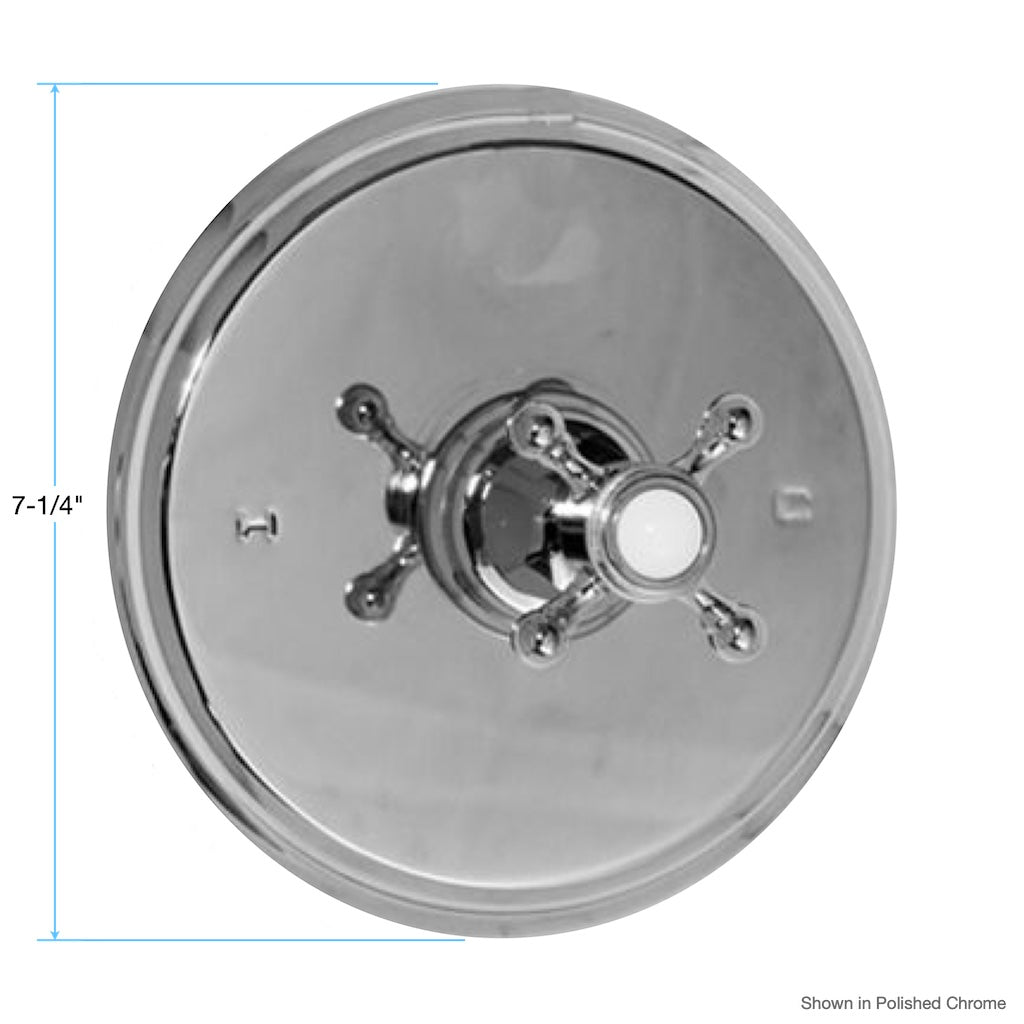
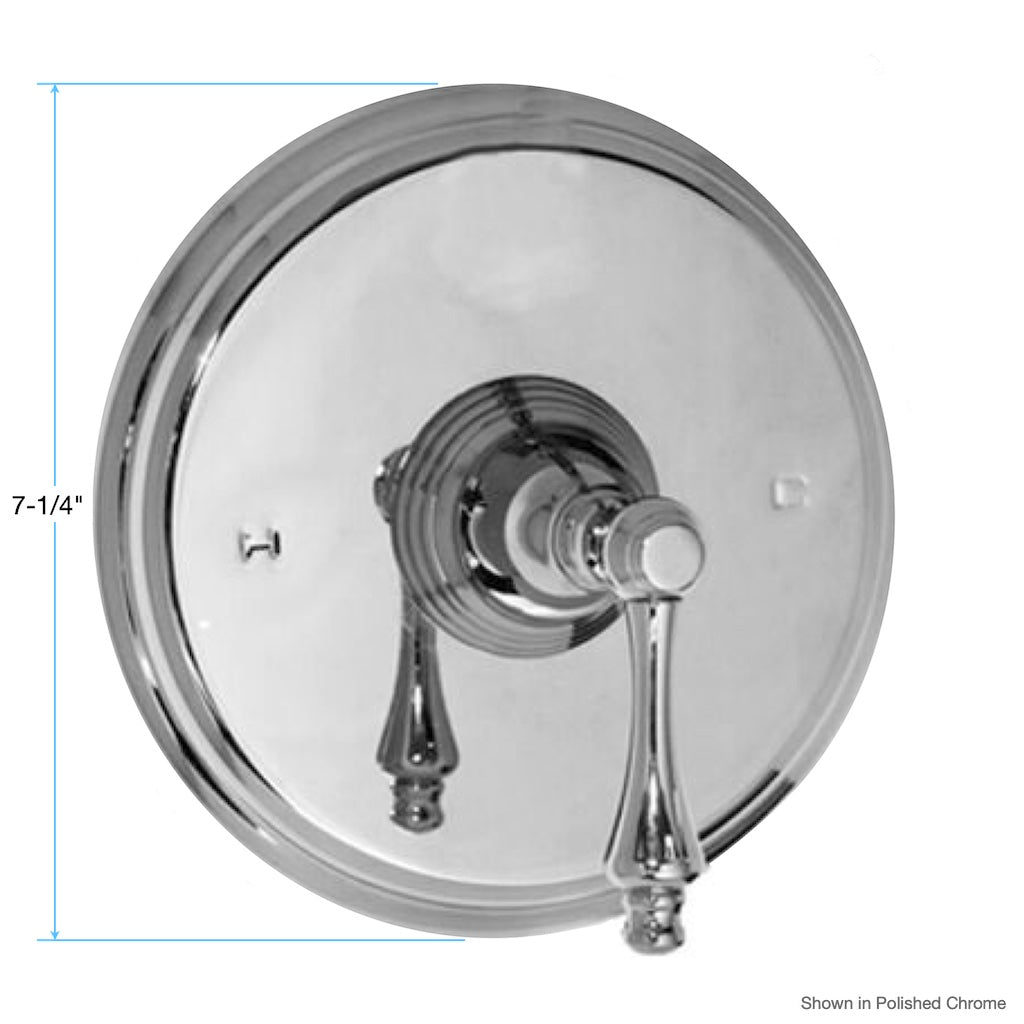
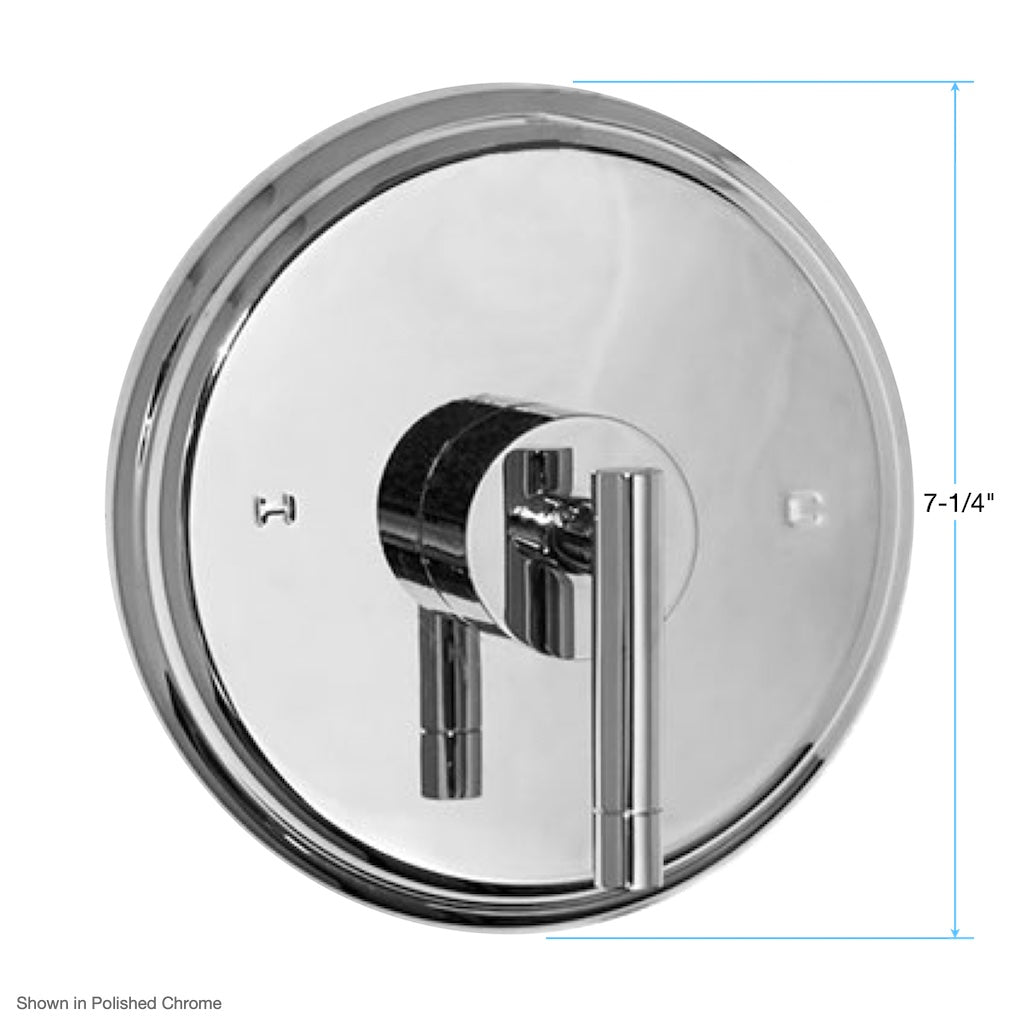
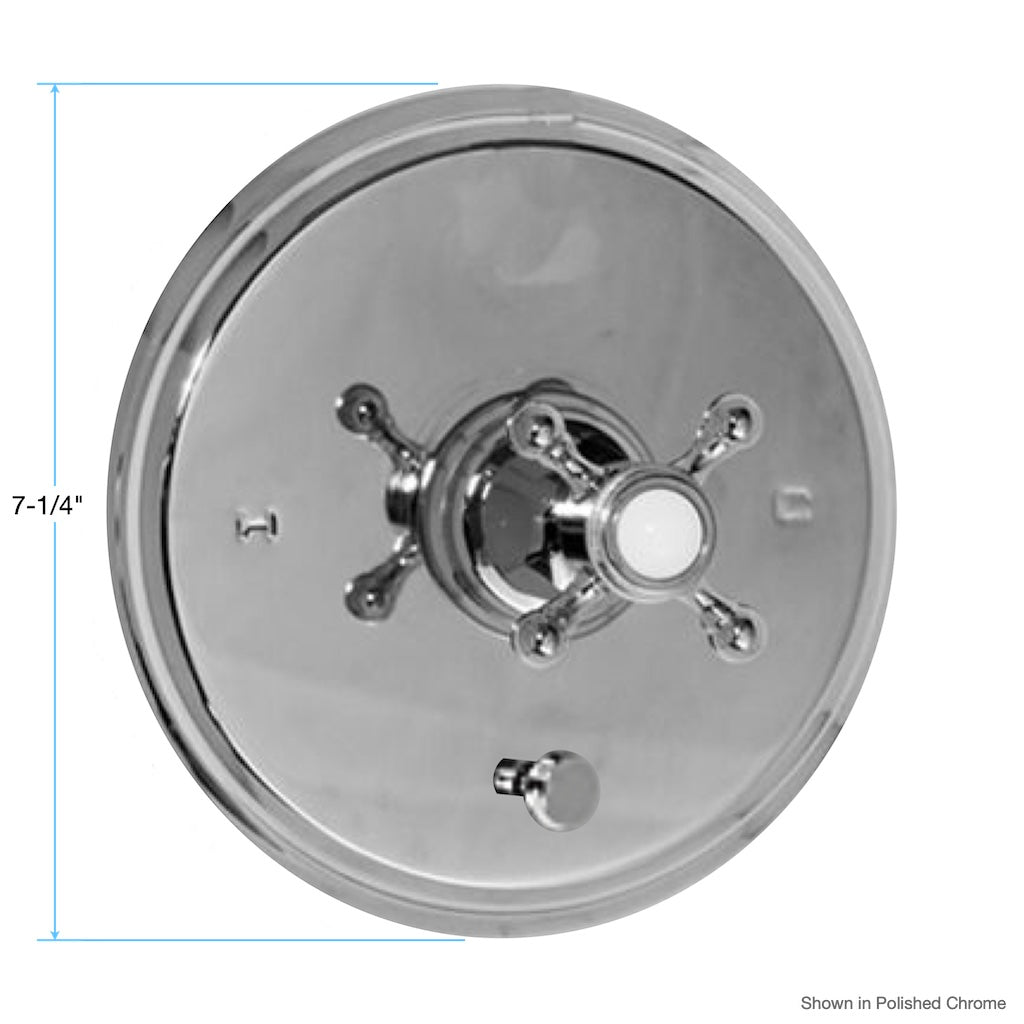
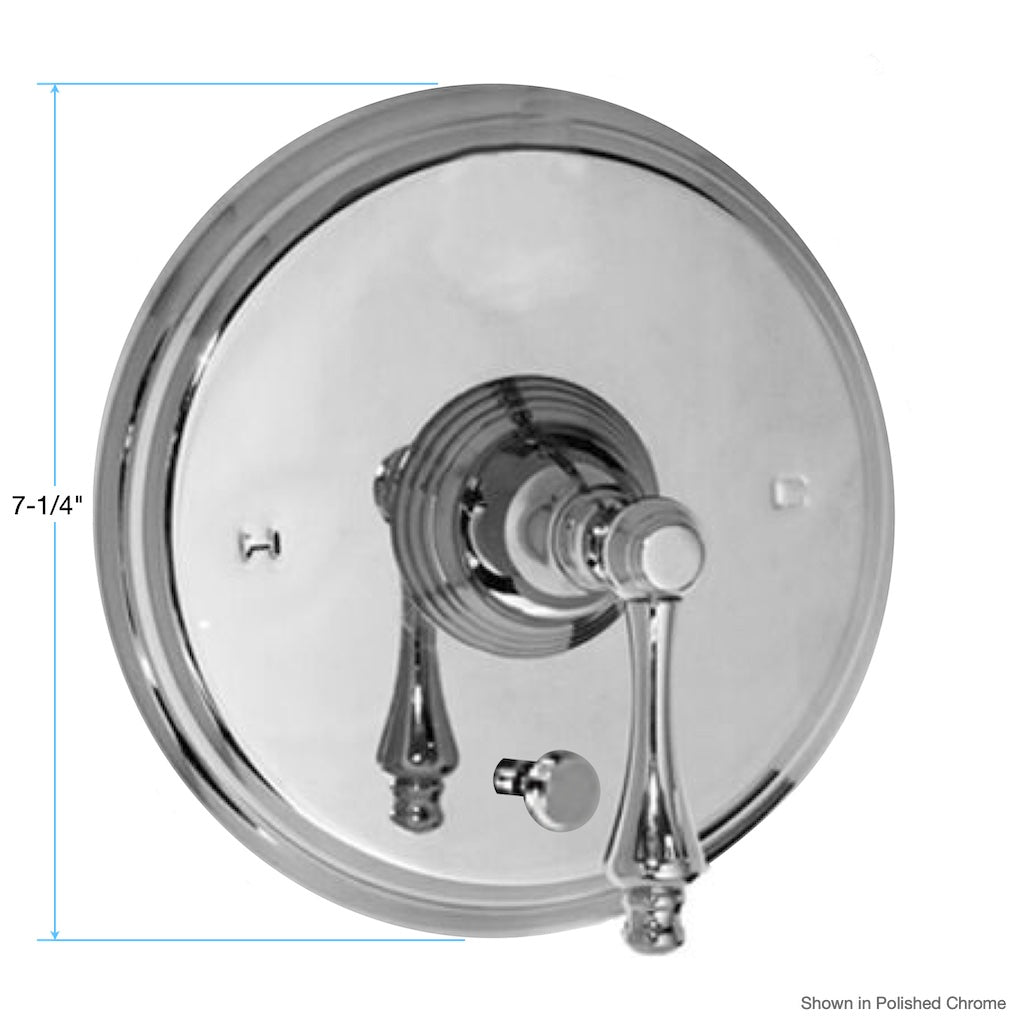
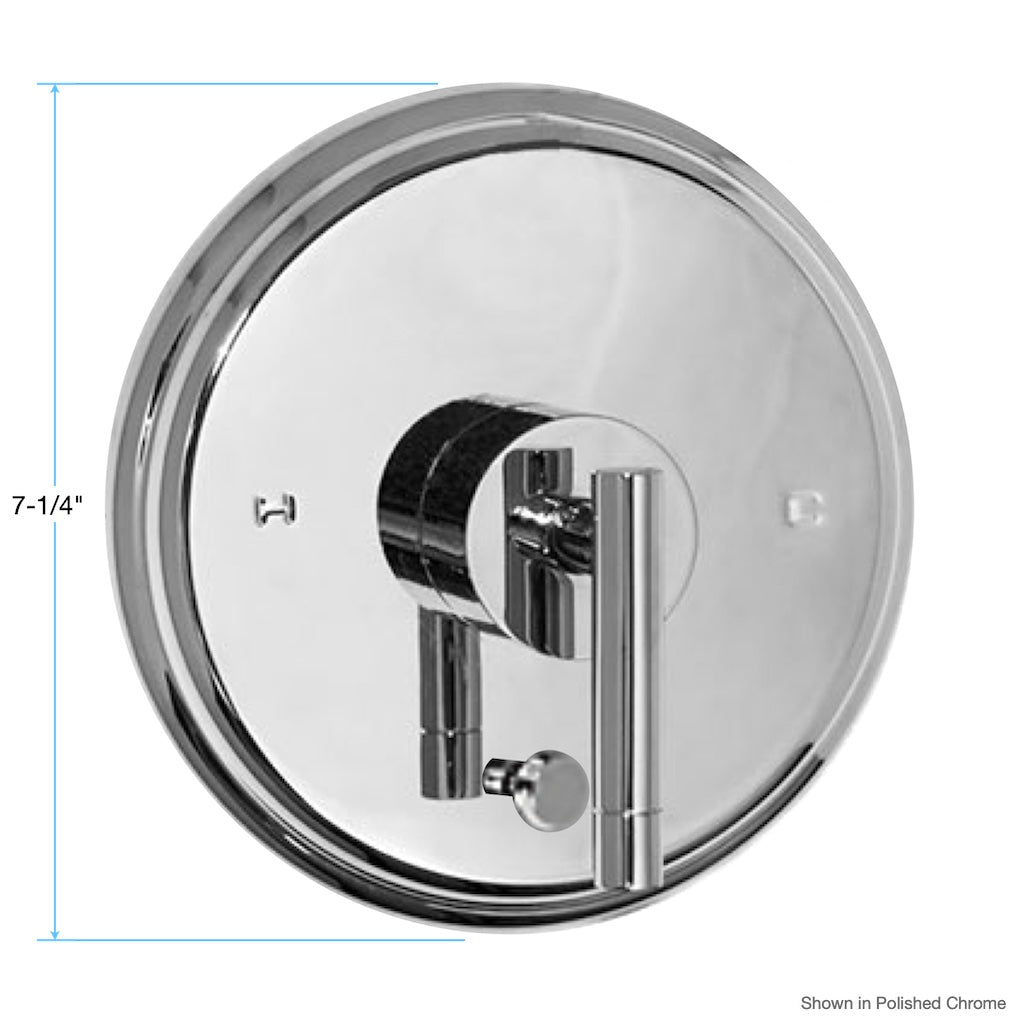
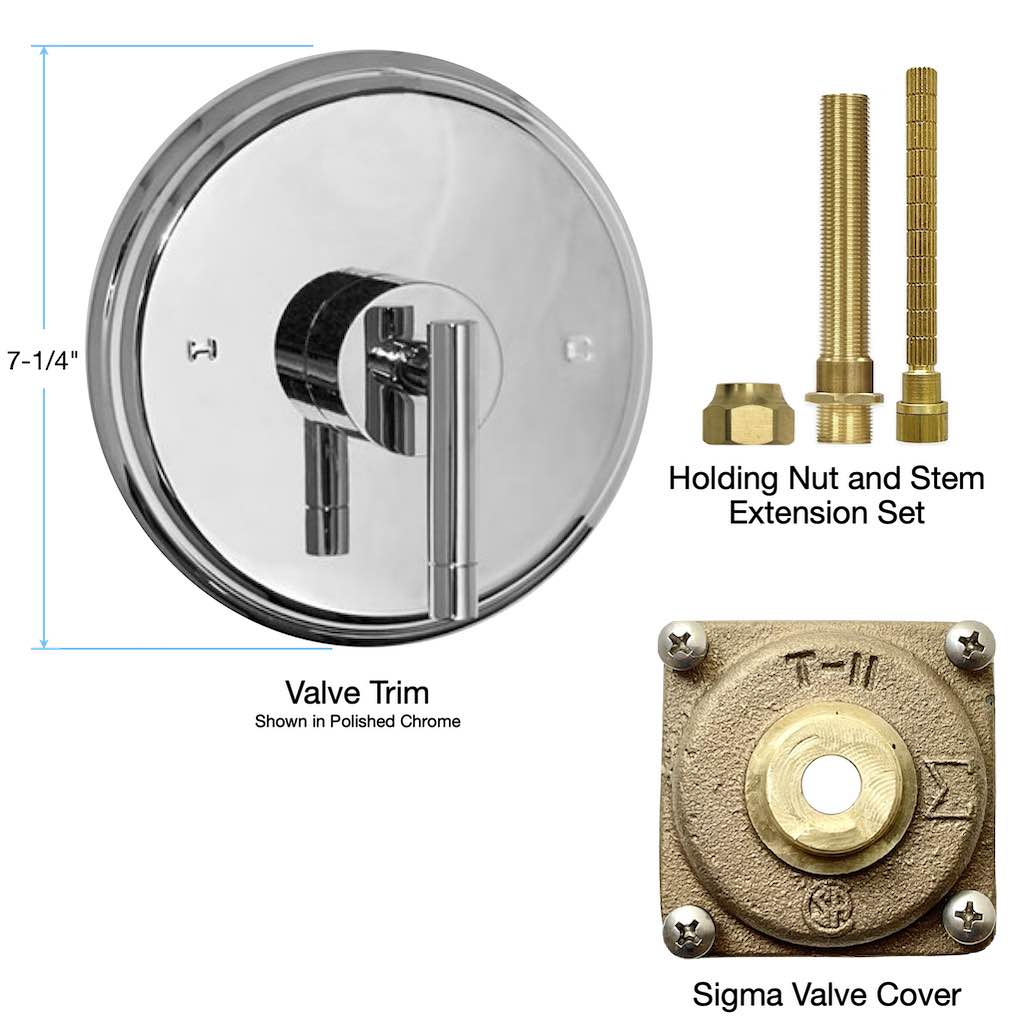
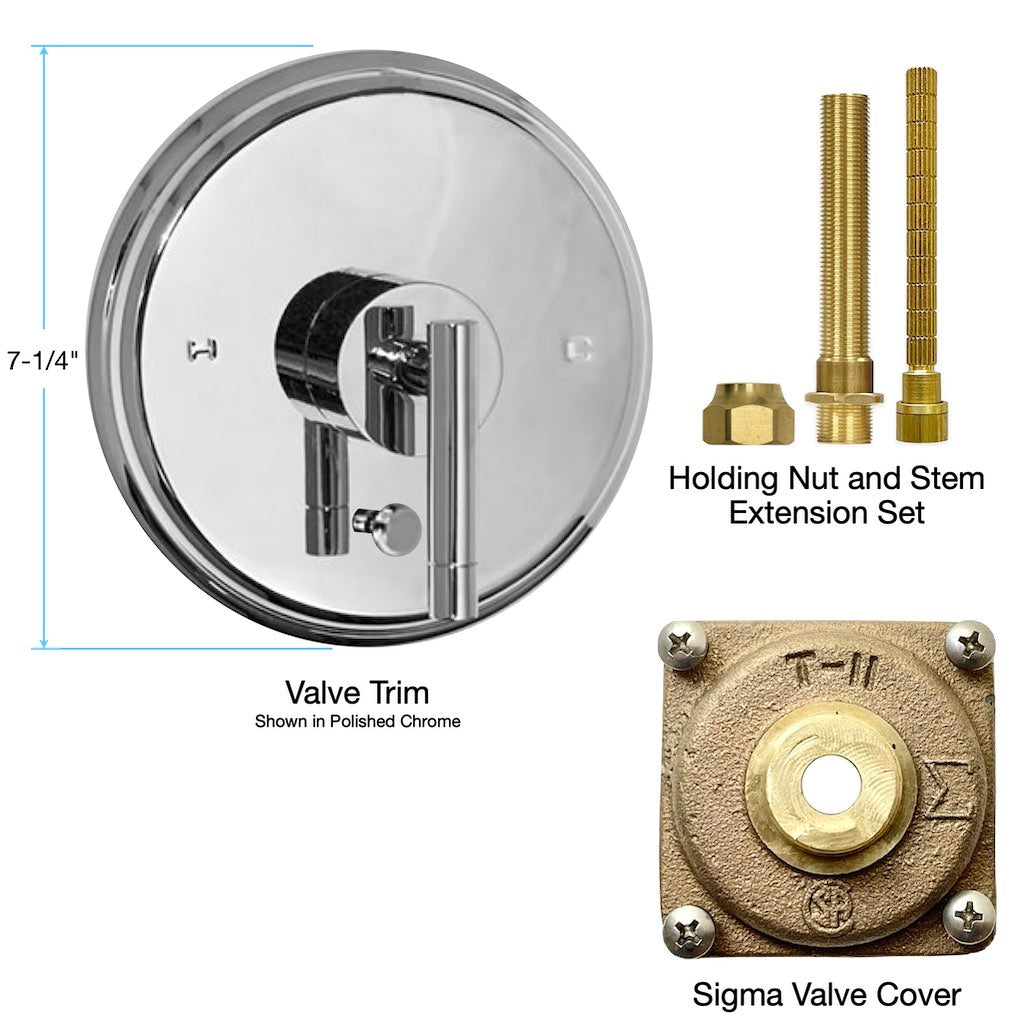
Trims for Valves with Sigma T-II Valve Cover
The following trim are for use with valves that have the Sigma T-II Valve Cover as shown below. It has T-II inscribed on top and the Greek letter sigma (Σ) on the right side. It does not have brass knobs on the left and right sides.

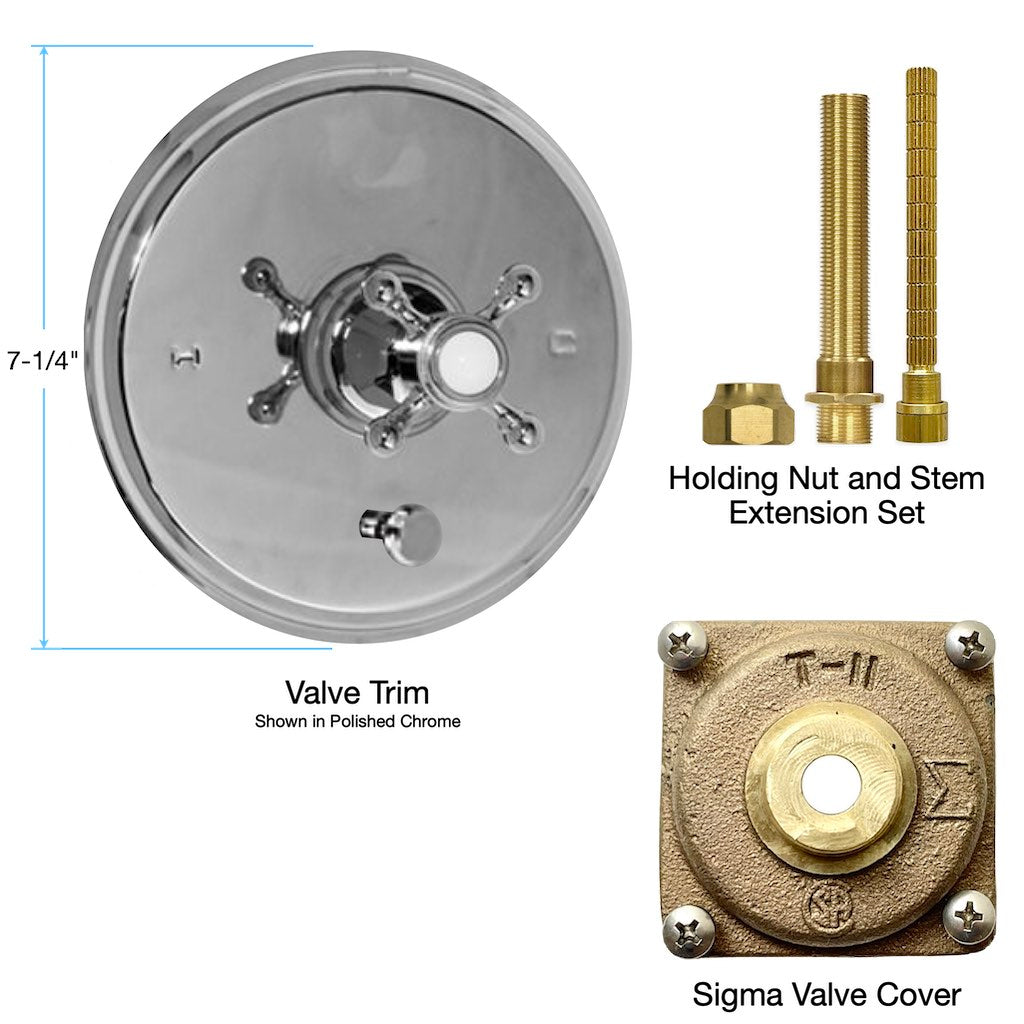
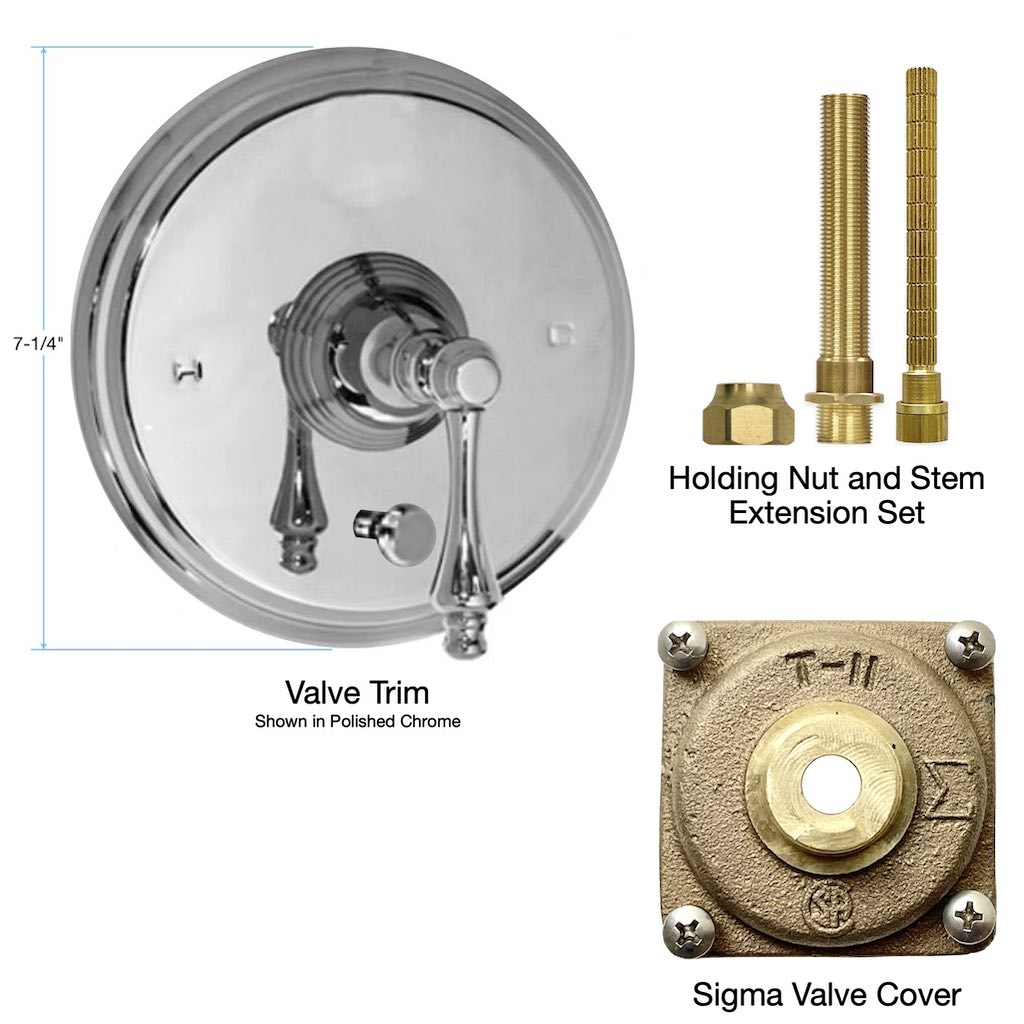
Trims for Tempress Valves with Non-Sigma Valve Cover
The following Sigma trim are for use with Tempress valves that have the non-Sigma valve covers shown below.


Valve Maintenance
The parts within the valves have a lifespan of 15 to 20 years. Over time, wear and tear, plus the accumulation of limescale from hard water minerals, cause parts to fail or leak. For proper functioning, the cartridge and other parts of the valve should be replaced every 15 years.
Indicators That You Should Replace the Pressure Balance Shower Cartridge
- Inconsistent Water Temperature: If you notice frequent fluctuations in water temperature that the cartridge fails to correct, it may be a sign that the cartridge is worn out or malfunctioning.
- Reduced Water Pressure: A significant drop in water pressure, even after cleaning the cartridge, can indicate that it is no longer functioning properly.
- Leaks and Drips: Persistent leaking or dripping from the showerhead or valve area suggests that the cartridge seals are failing and need replacement.
- Strange Noises: Unusual noises such as banging, whistling, or groaning sounds during water flow can be a symptom of a failing cartridge.
- Limescale Buildup: If upon inspection, the cartridge shows buildup of hard water limescale, it should be cleaned or replaced.
- Physical Damage: Visible signs of damage, such as cracks or severe corrosion, are clear indicators that the cartridge should be replaced.

New cartridge

Used cartridge with limescale buildup

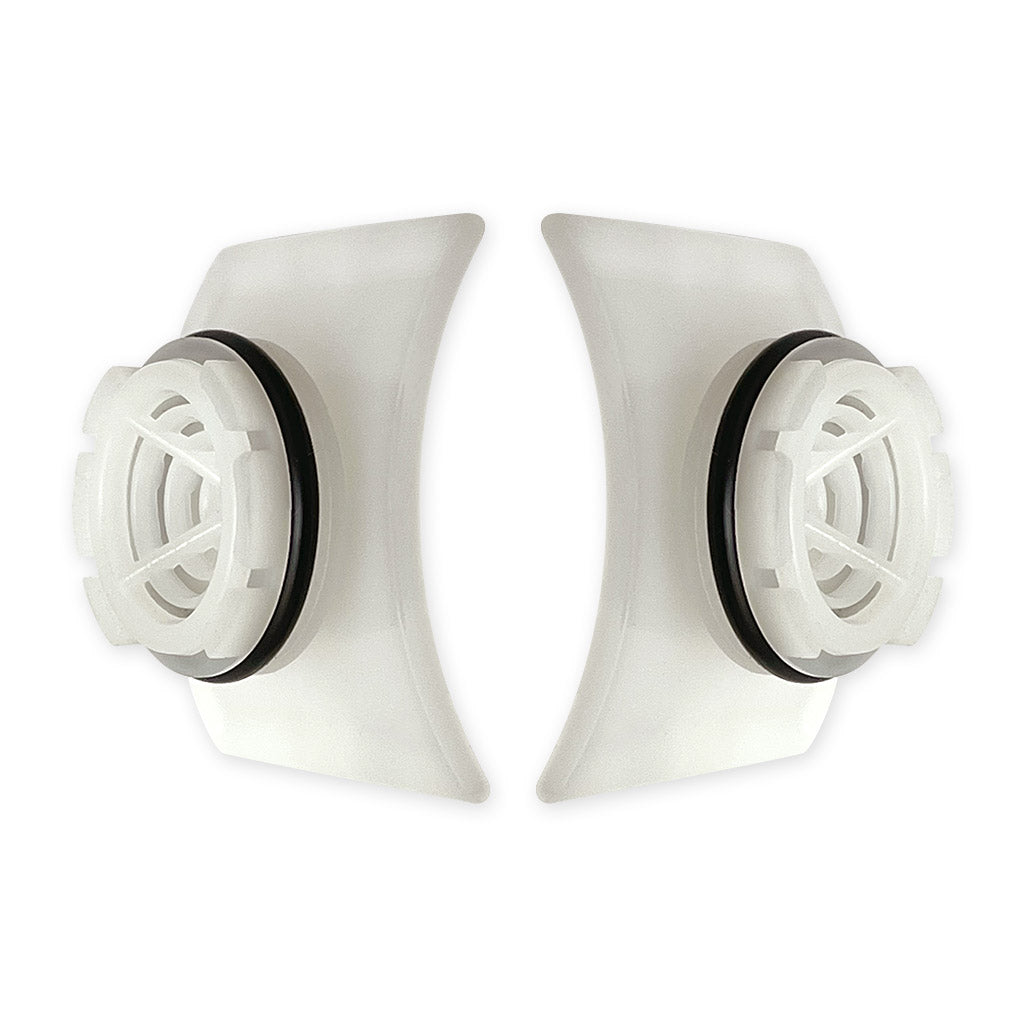
New valve filter

Used valve filter with debris blocking openings
Troubleshooting
| Malfunction | Cause | Remedy |
|---|---|---|
| Opening immediately to hot water. | Hot and cold water supplies have been connected in reverse. | Remove cartridge, rotate it 360°, re-insert cartridge. |
| Water drips after shutting off the valve. | Residual water in valve and piping. | Allow approximately 3-8 minutes to drain. (Do not try to stop dripping by applying extreme force or overtightening the handle, because it will strip the gears within the cartridge.) |
| Incorrect setting of the mechanical stop against the stop block causing a partially opened cartridge. | Remove and reposition mechanical stop further clockwise. | |
| O-ring seal on the sides of the cartridge is faulty or O-rings are damaged. | Check the O-ring and seat for cuts or damage during installation. Replace if necessary. Lubricate O-ring with silicone-based plumber’s grease. | |
| If the Valve Filters were just replaced, they are not seated properly and do not have a watertight seal. | Remove valve filters and lubricate O-rings with silicone-based plumber’s grease. Re-insert each valve filter so that the beveled edge faces outward. Push each valve filter against the side of the valve wall, so it is flush with the valve wall. | |
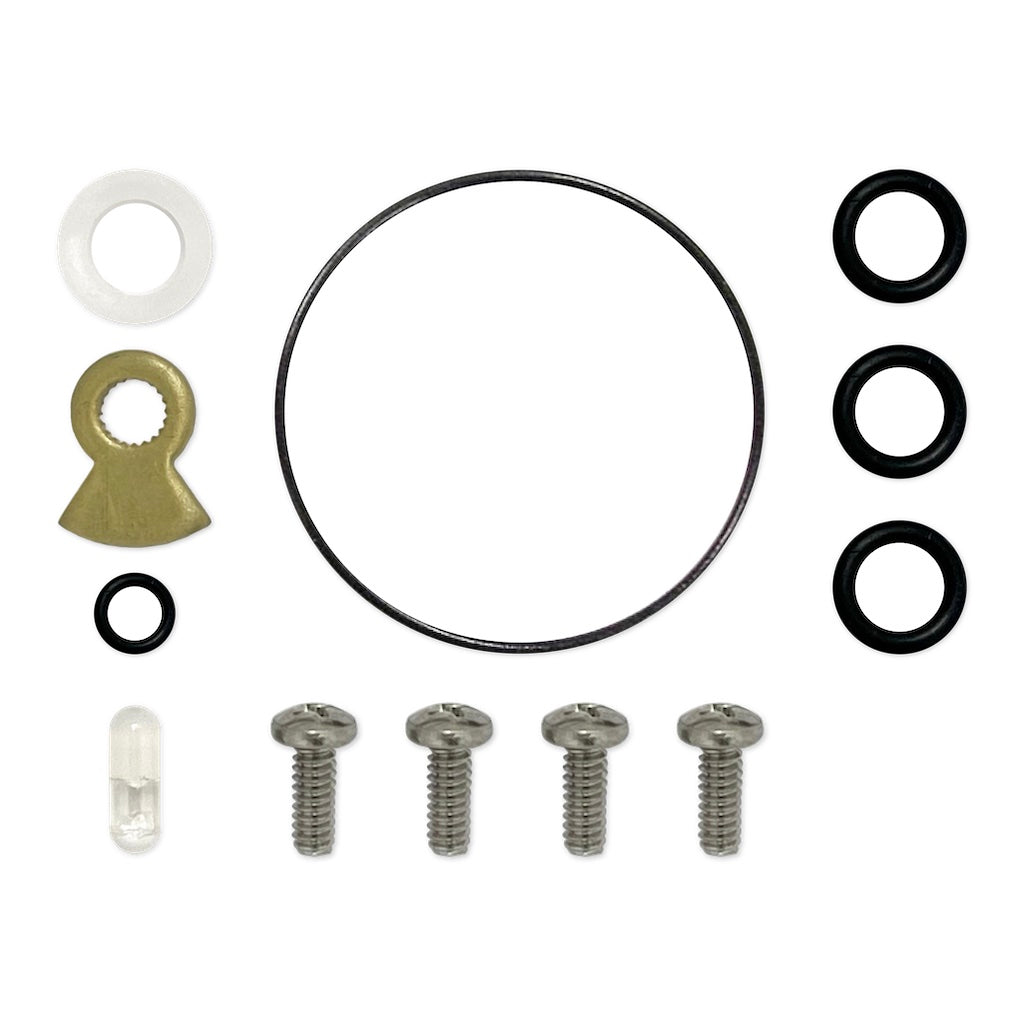
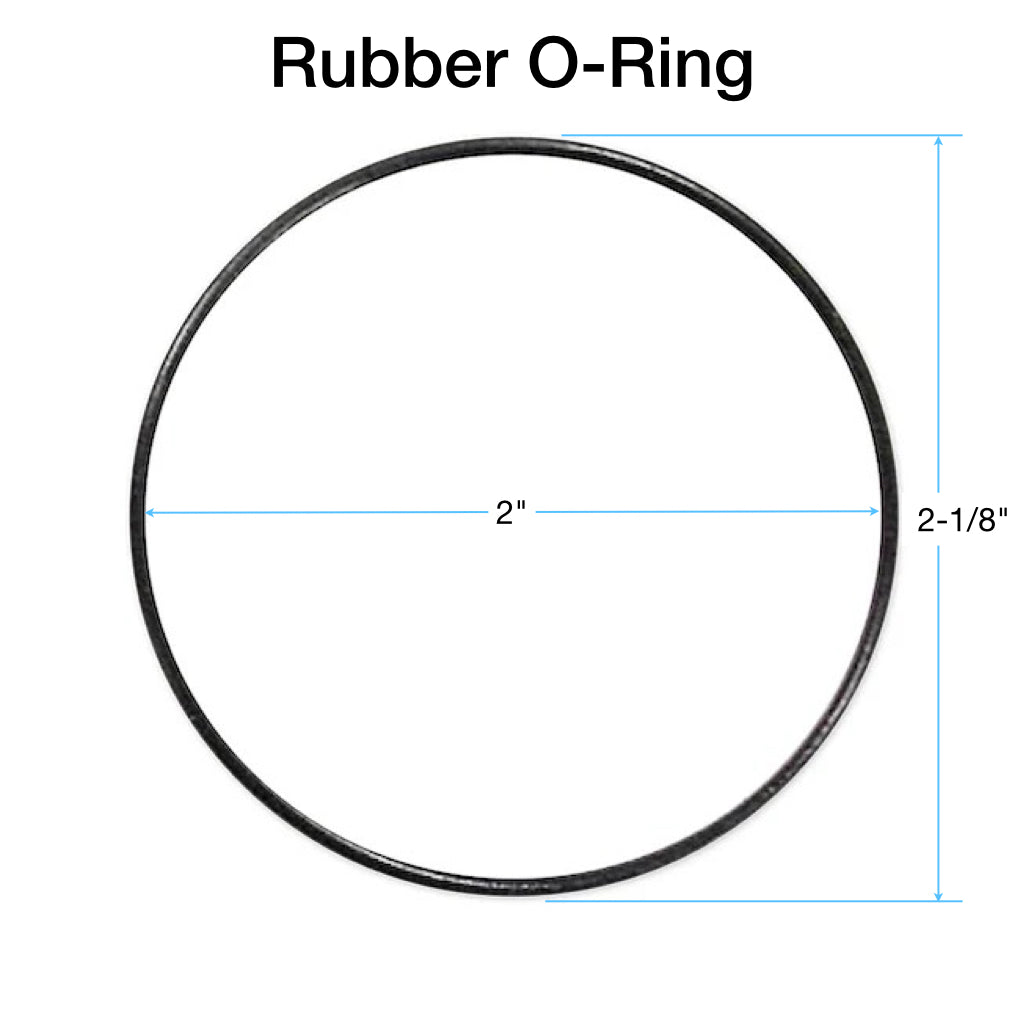
| Water leaks from center of valve cover. | Rubber O-Ring and white washer are damaged and not providing watertight seal. | Replace O-Ring and white washer at the center of the valve cover. Lubricate O-ring with silicone-based plumber’s grease. |
| Water insufficiently hot. | Temperature Limit Stop is incorrectly set. | Remove and reposition Temperature Limit Stop stop further counterclockwise. |
| Valve body too deep into wall. | The measured rough in or finished wall surface is incorrect. | Reposition the valve. |
| Diverter will not stay on during shower. | Not enough back pressure between shower head and diverter valve. | Flow restrictor at shower head 2.5 gallons per minute |
| No or low flow of hot or cold water. | Either the hot or cold side is not fully pressurized. | Verify that all service stops for both the hot and cold are fully open and pressurized. |
| Debris caught inside the inlet of the cartridge. | Remove the cartridge. If debris is lodged in the inlet of the cartridge or check the valve located in the cast valve body. The debris can be removed with a straightened paper clip or fine wire. Gently insert the wire and move it in a circular motion to dislodge any debris. |
⚠️ CAUTION: Never try to stop dripping by applying extreme force or overtightening the handle, because it will strip the gears within the cartridge.


