Thermostatic Cartridge for 1/2" Exposed Shower System 20 Point 18.30.352
Product 18.30.352
SHIPPING TIME
- Usually ships within 1 to 2 business days.
INSTALLATION
- Installation Instructions
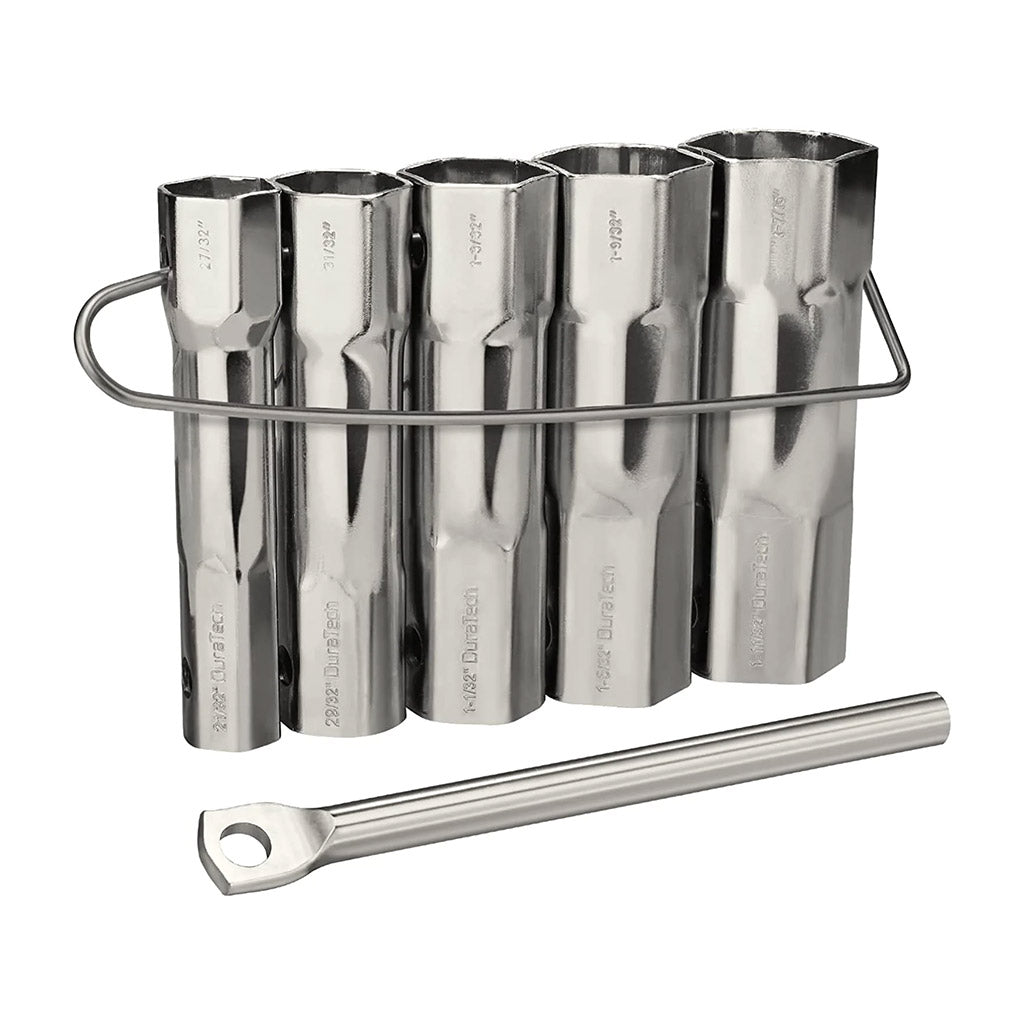
- To replace this cartridge, you will need to remove the brass holding nut using a 1-9/32" socket or stem wrench.
- When replacing this thermostatic cartridge, calibrate the cartridge by setting the hot and cold temperature limits (see the Installation Instructions), to protect the user while bathing.
Compatibility
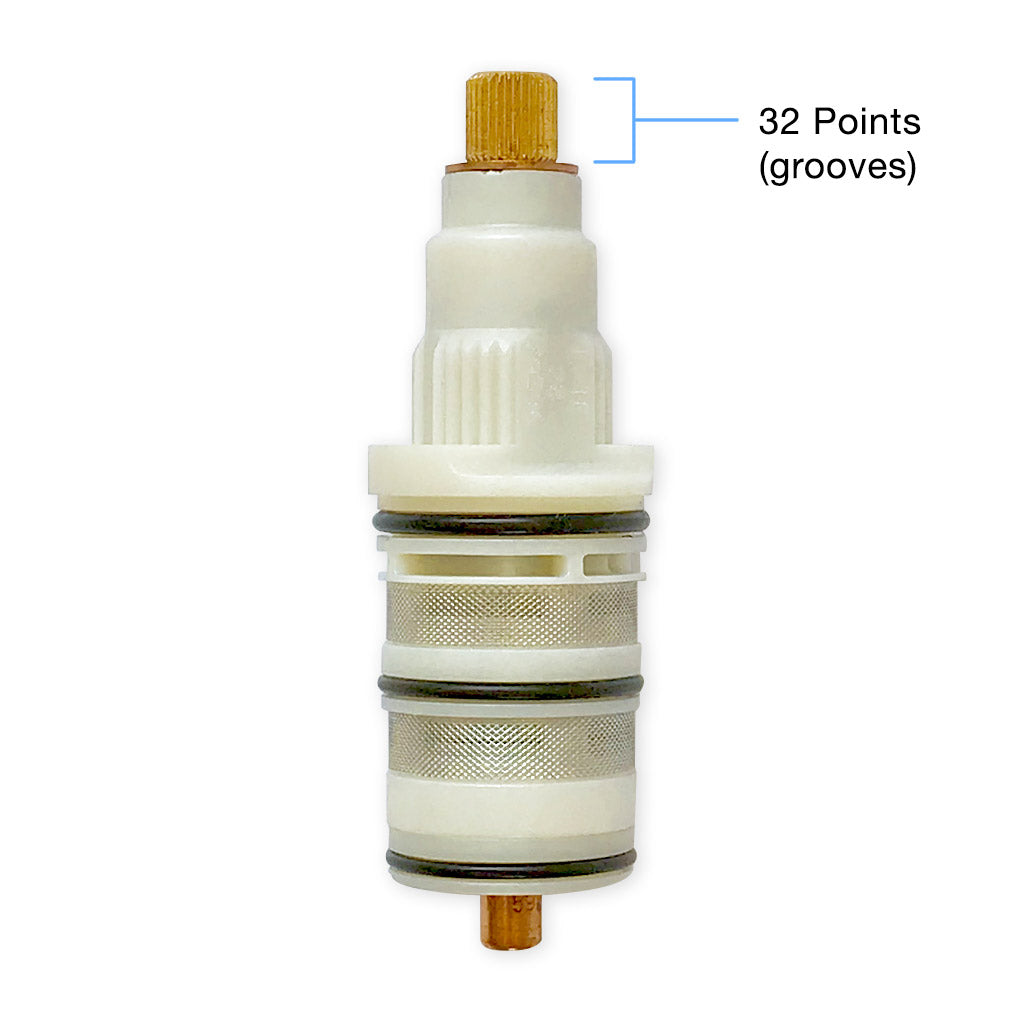
IMPORTANT There are two versions of this 1/2" thermostatic cartridge. One version has 20 points (ridges) at the top of the cartridge; the other has 32 points (ridges) at the top of the cartridge.
Determining Whether You Need the 20-Point or 32-Point Version
Remove the Temperature Control Handle and count the number of ridges on the brass tip of the thermostatic cartridge. If your existing cartridge has 20 ridges, order the 20-Point Version. If your existing cartridge has 32 ridges, order the 32-Point Version.
How to Remove Temperature Control Handle
- Turn the temperature control handle so the set screw hole points upward.
- Use an Allen key to remove the set screw. (Make sure the set screw does not fall down the shower drain.)
- Position your feet so you have a steady stance. Pull the center of the temperature control handle toward you using both hands. (Do not pull on the ceramic lever, because you can break it apart from the metal portion of the handle assembly.)
- If the temperature control handle does not pull off, spray Liquid Wrench or WD40 three to four times into the set screw hole. Wait between each spray so the lubricant seeps into the set screw hole.
- Wait 10 minutes, so the lubricant can soak in between the parts.
- Position your feet so you have a steady stance. Pull the center of the temperature control handle toward you using both hands.
Tool


